Creating a custom quarantine policy in Microsoft Defender for Office 365 involves configuring advanced threat protection settings to protect your organization’s email environment.
To create a Custom Quarantine policy in Microsoft Defender for Office 365, you can follow these general steps:
1.Login to the Microsoft Defender portal using your organization’s credentials.
https://security.microsoft.com/
2.Expand the Email & collaboration on the Microsoft Defender page and select Policies & rules.
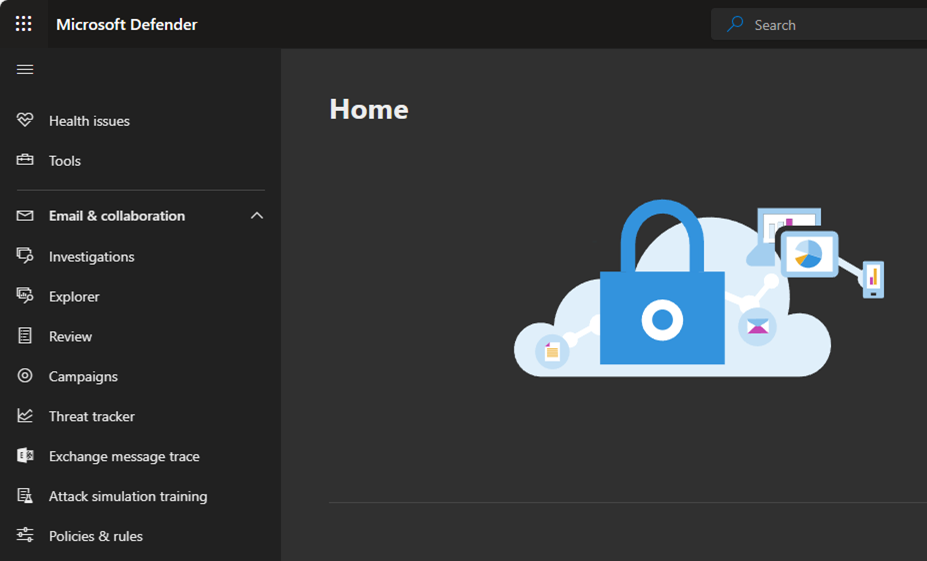
3.Select Threat policies on the Policies & rules page.
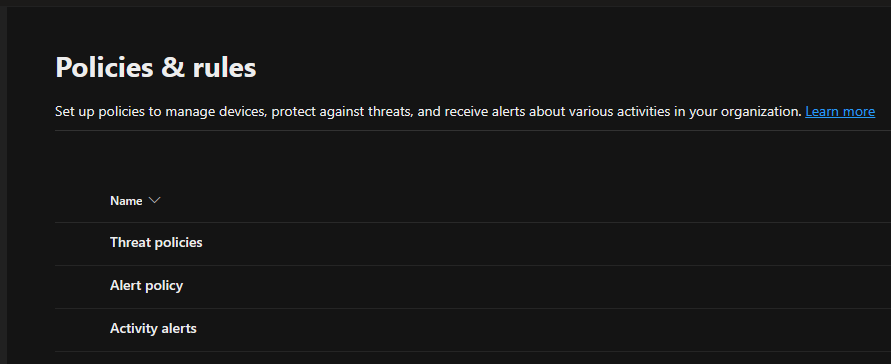
4.Select Quarantine policies on the Rules.

Note:
A quarantine policy ties in with Safe Attachments because if an attachment is found to be malicious, it would need to be quarantined.
5.Select Global settings on the Quarantine policy page.
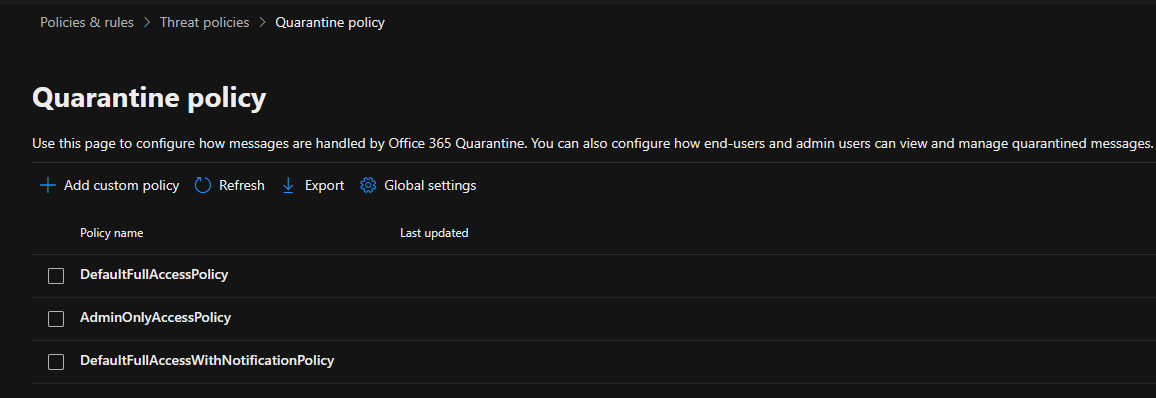
6.The global settings enable us to define a global notification. These settings allow you to customize the notifications sent to recipients of quarantined messages. By configuring quarantine notification settings in Microsoft Defender for Office 365, you can ensure that relevant stakeholders are promptly informed about emails that have been quarantined, facilitating timely action to address potential security threats.
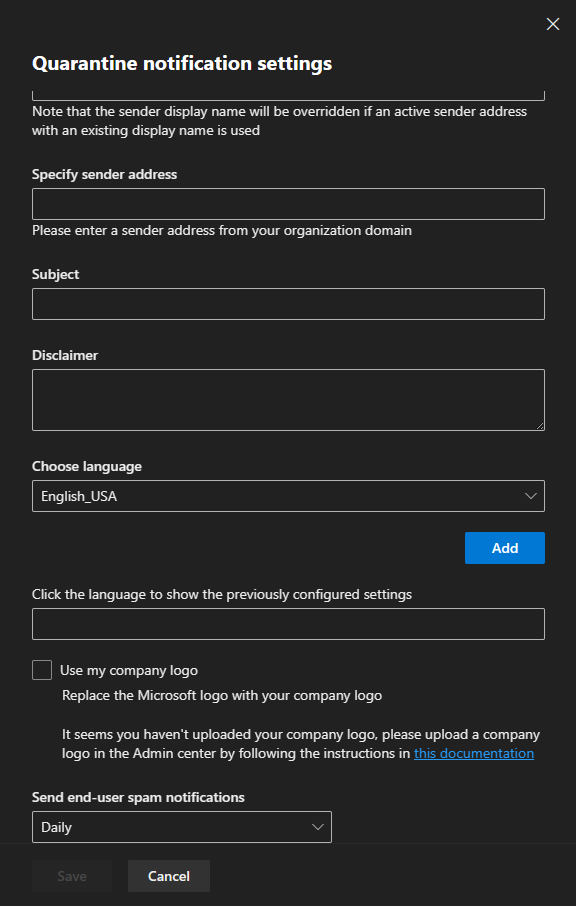
7.Three policies govern the user experience for quarantine messages by default. You can create your custom policy. Click Add custom policy on the Quarantine policy page.

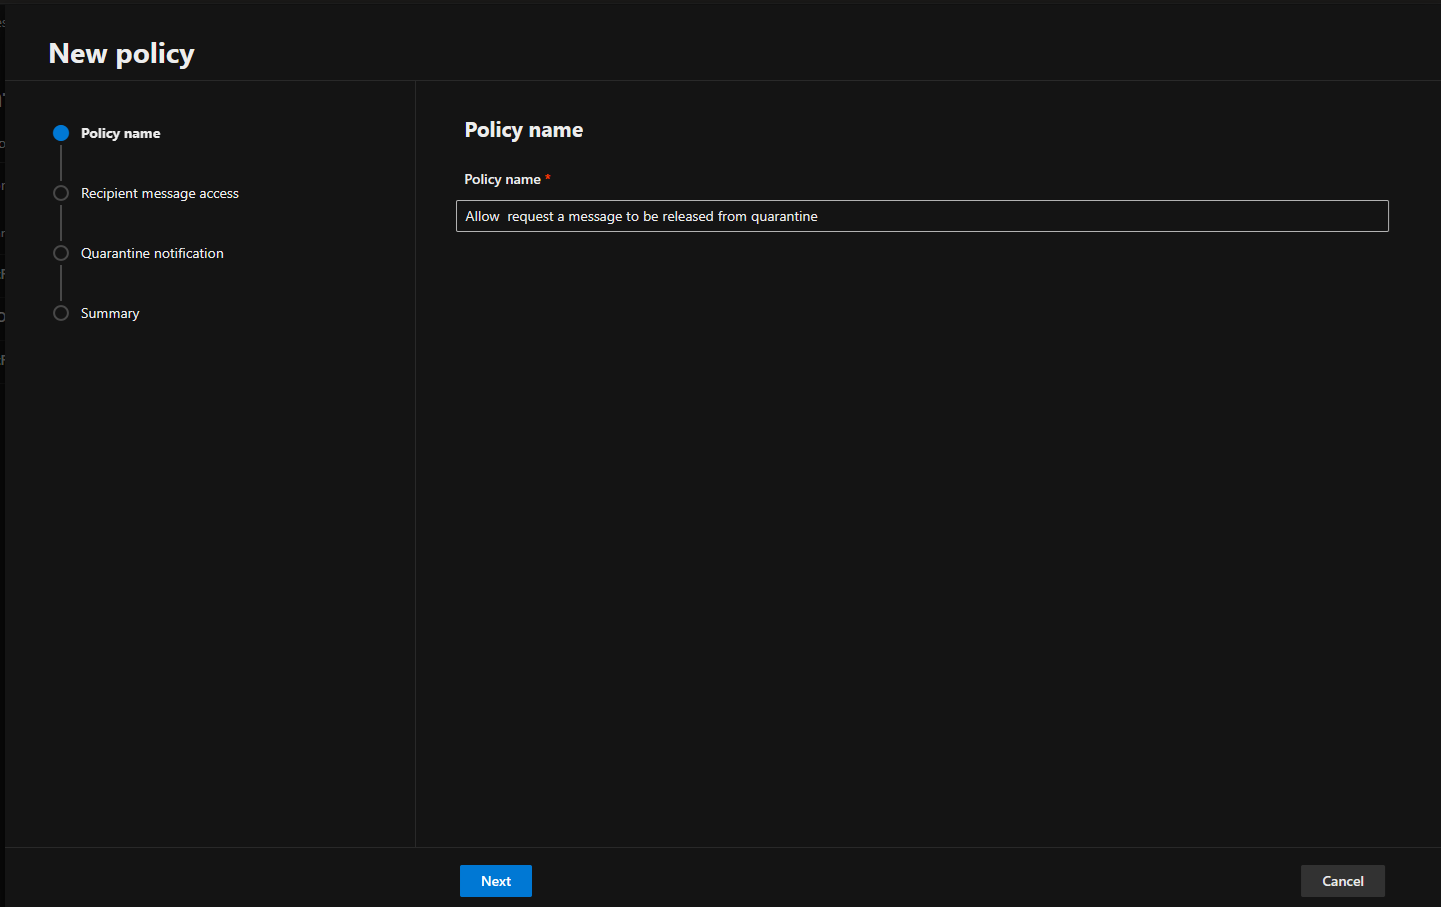
8.On the Policy name page, enter the custom policy name and click Next.
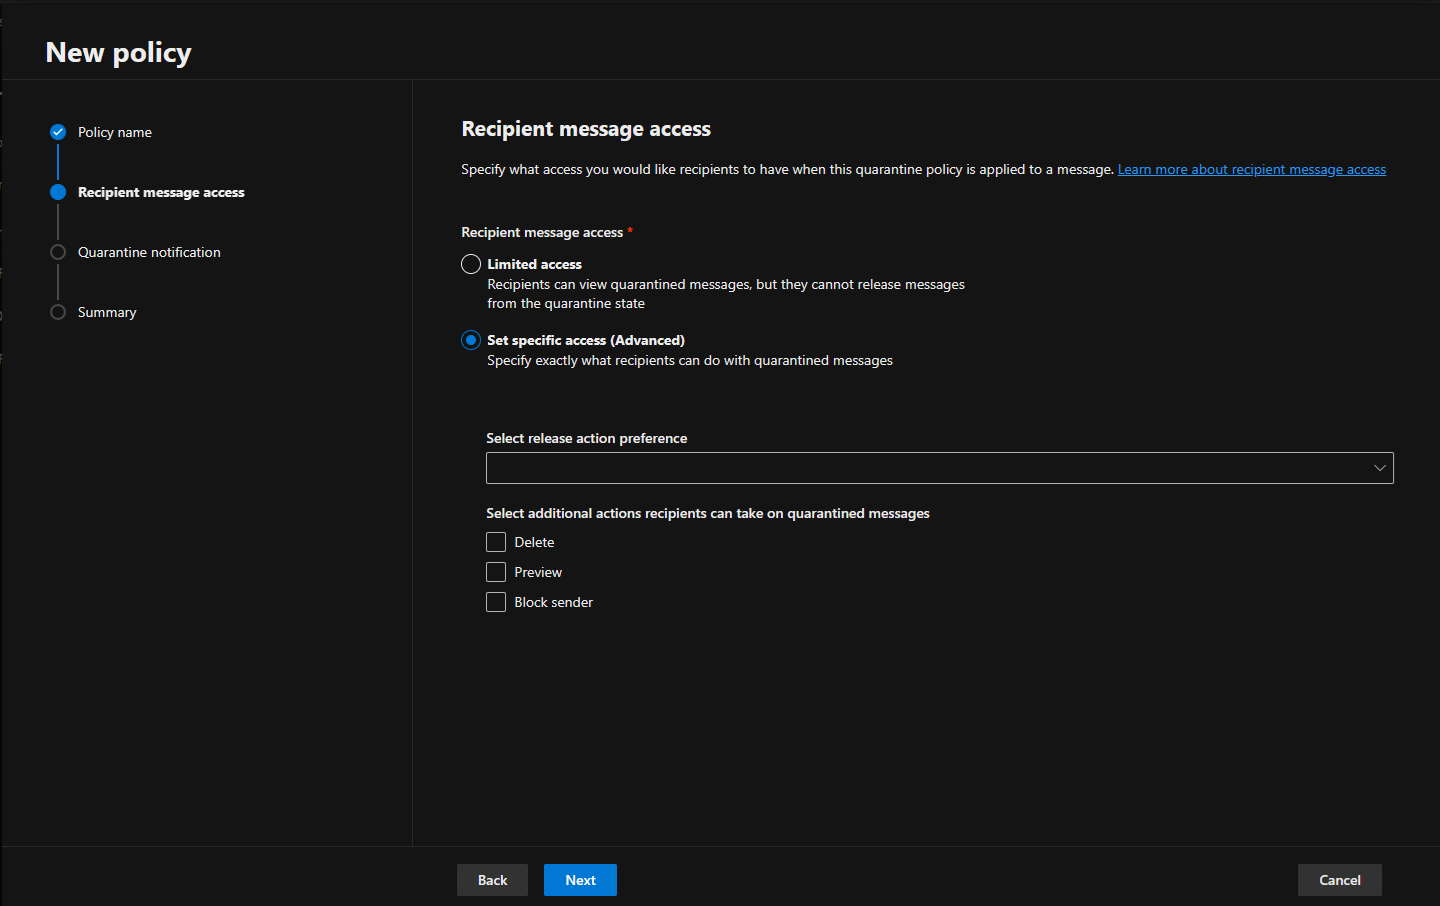
9.Select Set specific access (Advanced) on the Recipient message access page.
Note:
If you select Limited access, users can do anything to their quarantined messages except release them from quarantine without admin approval.
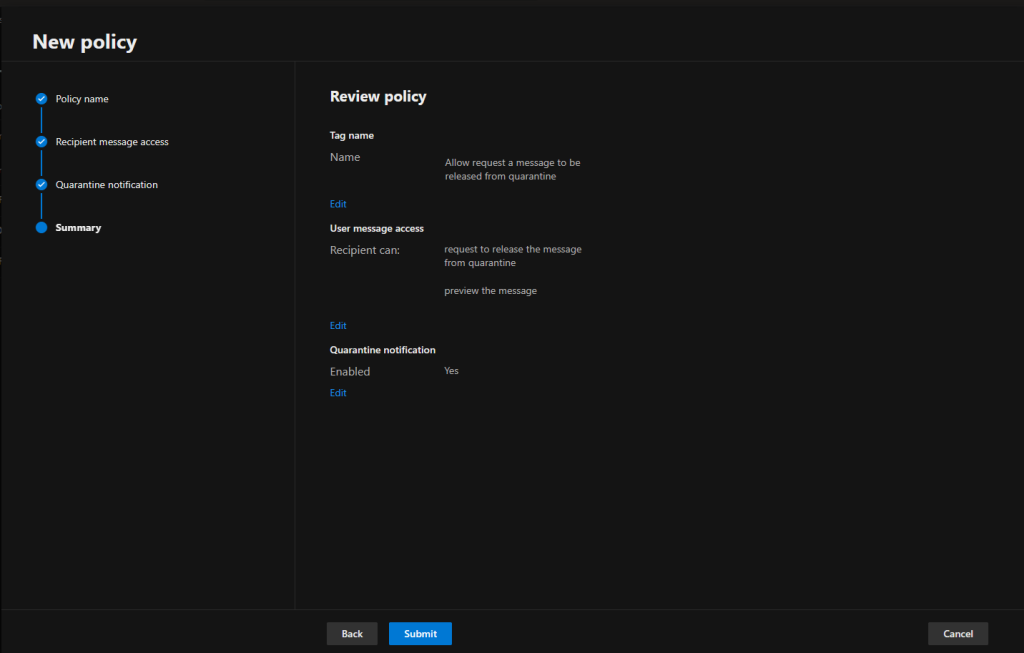
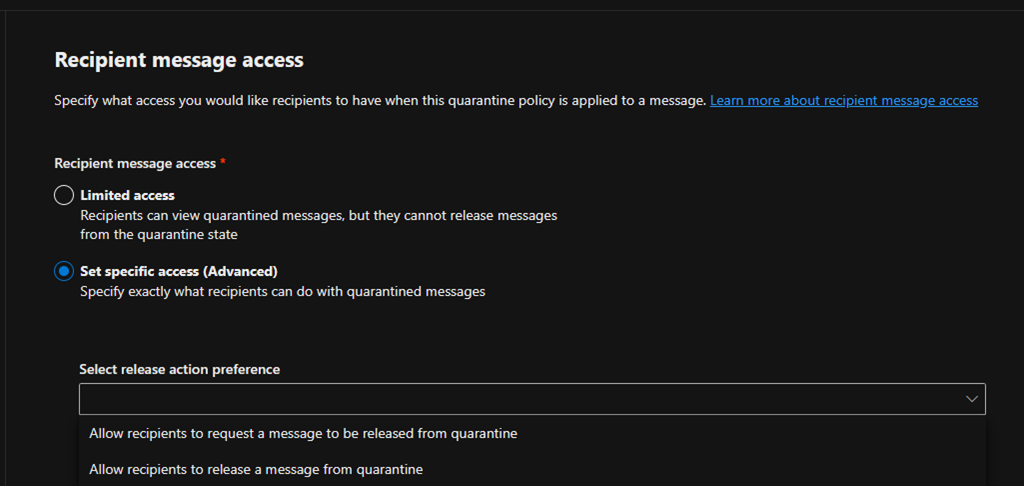
10.Select Allow recipients to request a message to be released from quarantine from the Select release action preference drop-down list.
Note:
If you use the default blank value, the recipients cannot release or request the release of their messages from quarantine.
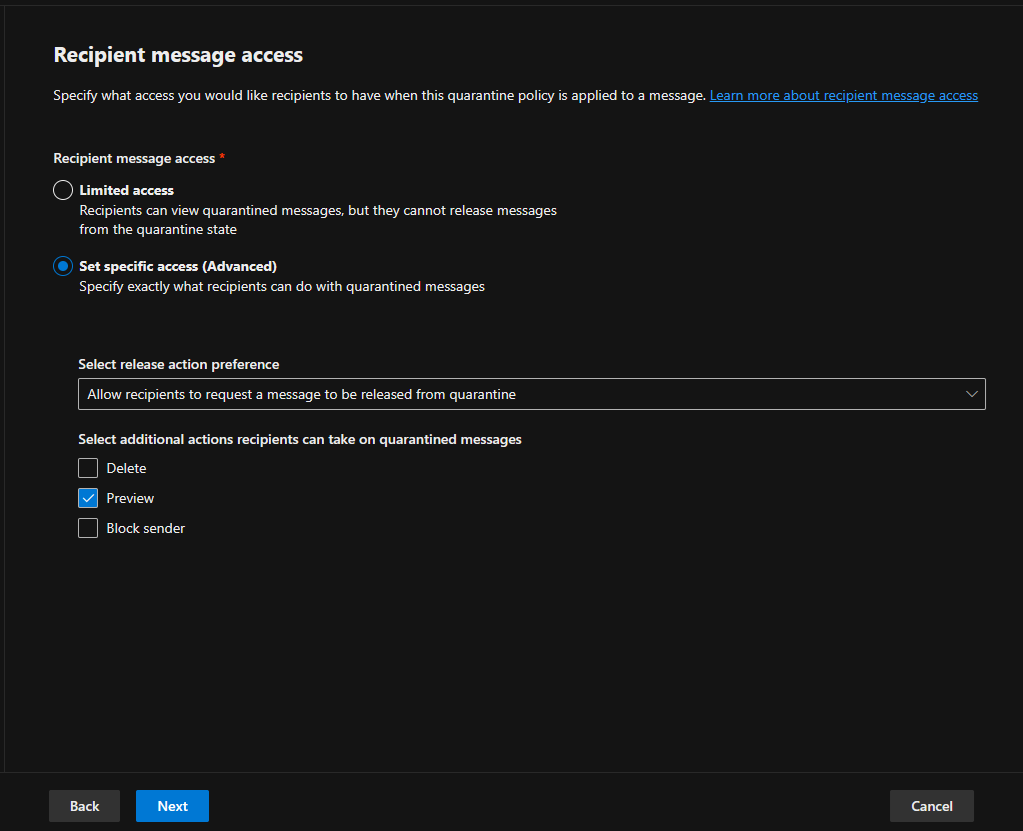
11.On the Select additional actions recipients can take on quarantined messages settings, you can select some, all or none of them and click Next.
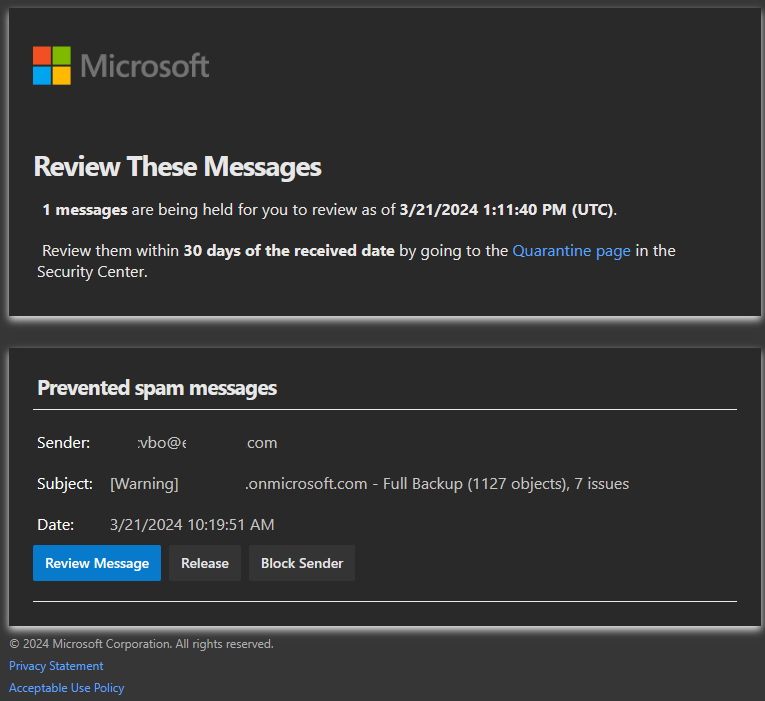
12.When users receive a quarantine notification, the following information is available for each quarantined message.
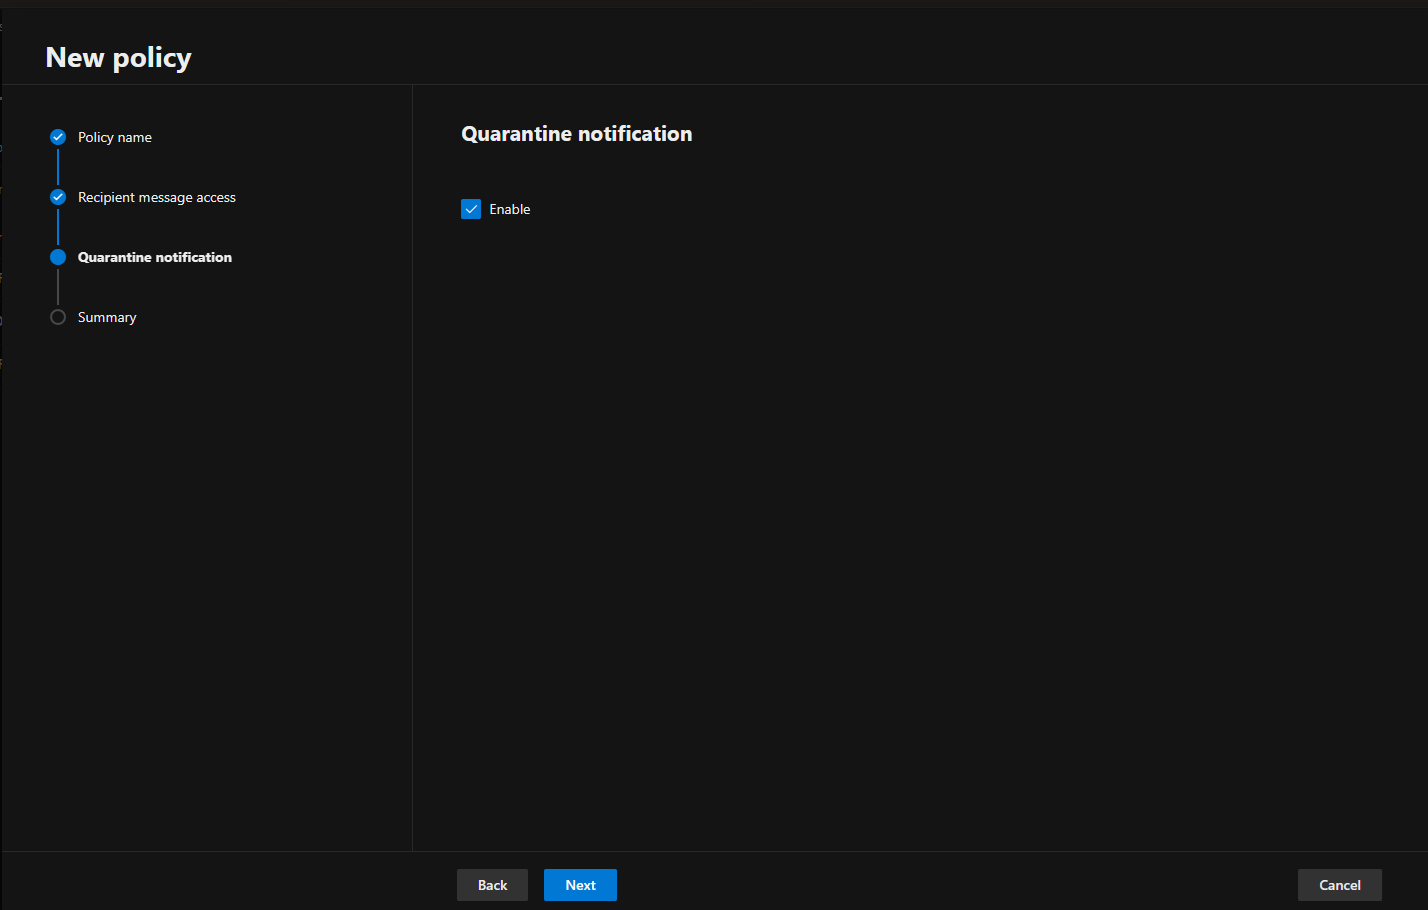
13.Select Enable on the Quarantine notification page and click Next.
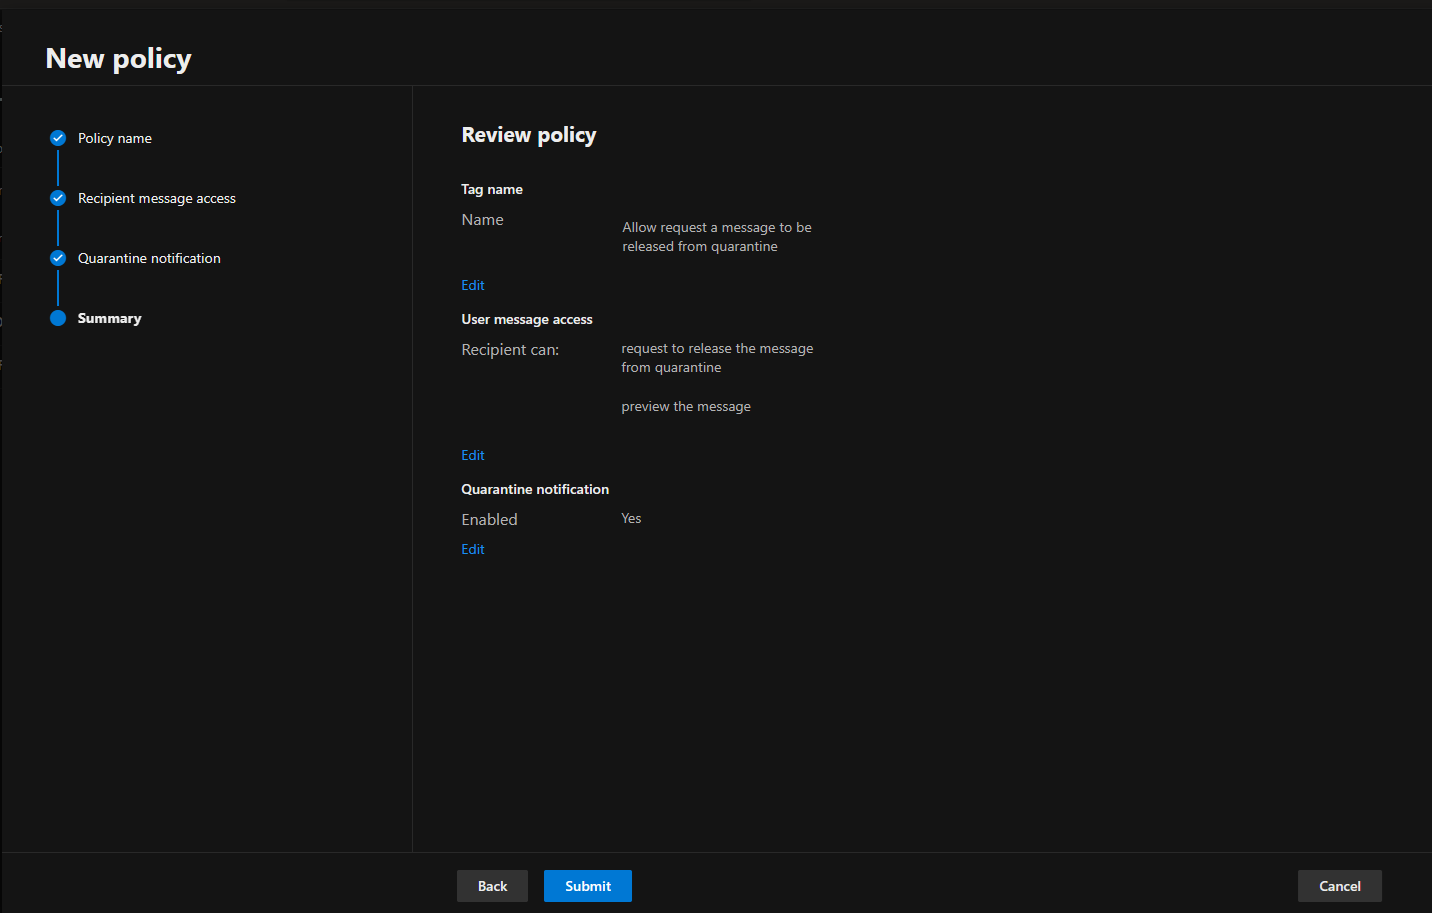
14.Click Submit on the Review policy page.
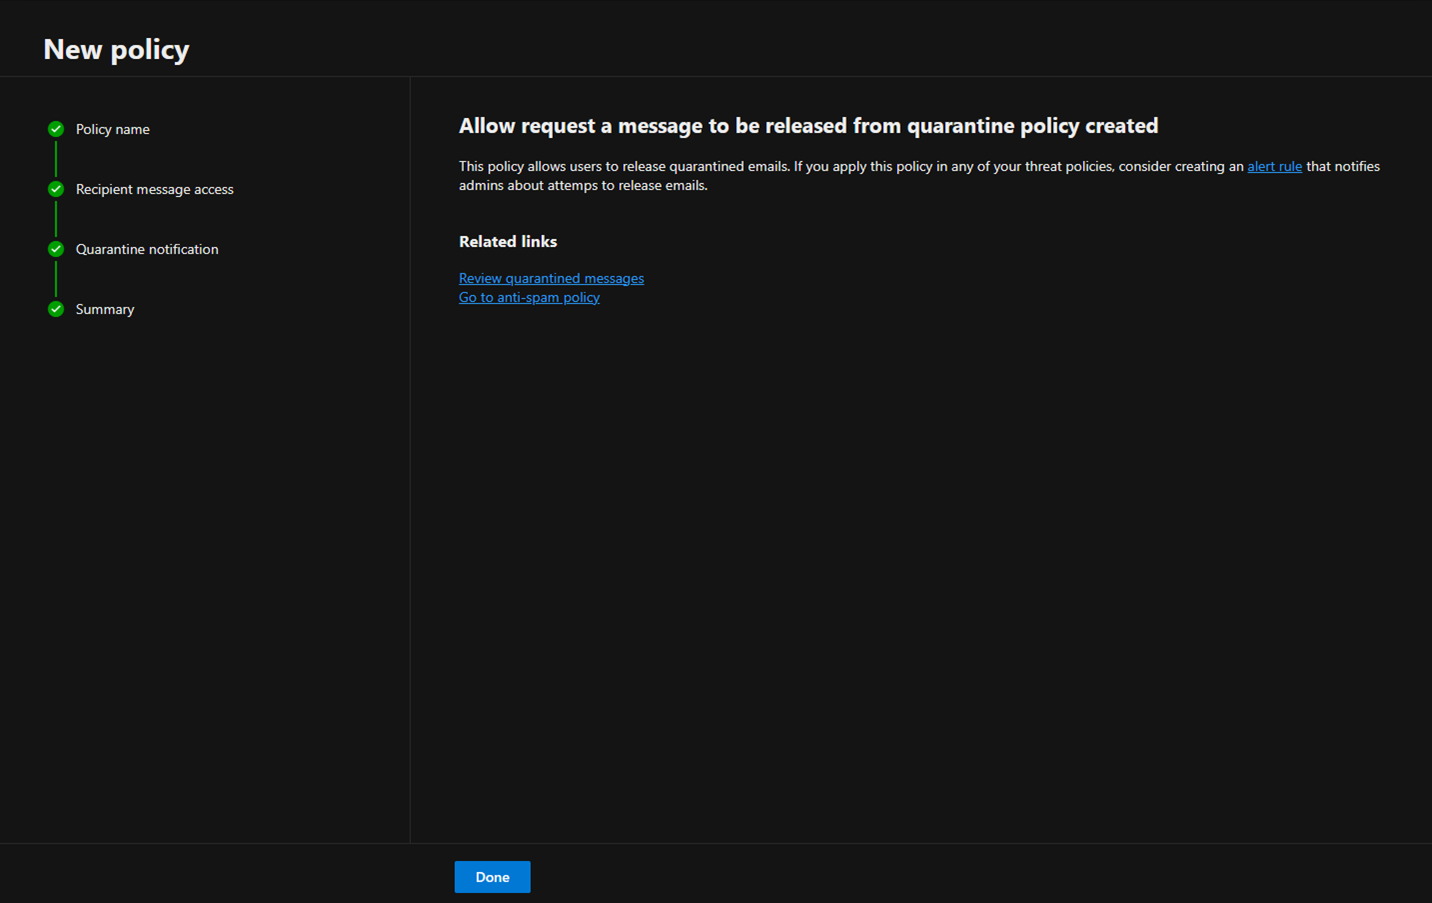
15.Ensure the new custom policy is created successfully and click Done.
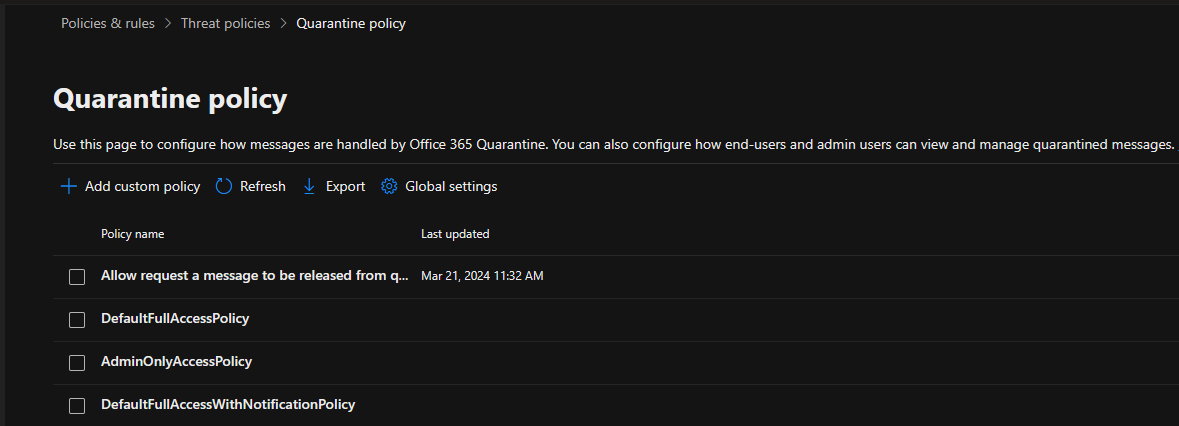
16.On the Quarantine policy page, the new custom policy shows up.
I hope you enjoy this post.
Cary Sun
X: @SifuSun
Web Site: carysun.com
Blog Site: checkyourlogs.net
Blog Site: gooddealmart.com
Amazon Author: Amazon.com/author/carysun
Author: Cary Sun
Cary Sun has a wealth of knowledge and expertise in data center and deployment solutions. As a Principal Consultant, he likely works closely with clients to help them design, implement, and manage their data center infrastructure and deployment strategies.
With his background in data center solutions, Cary Sun may have experience in server and storage virtualization, network design and optimization, backup and disaster recovery planning, and security and compliance management. He holds CISCO CERTIFIED INTERNETWORK EXPERT (CCIE No.4531) from 1999. Cary is also a Microsoft Most Valuable Professional (MVP), Microsoft Azure MVP, Veeam Vanguard and Cisco Champion. He is a published author with several titles, including blogs on Checkyourlogs.net, and the author of many books.
Cary is a very active blogger at checkyourlogs.net and is permanently available online for questions from the community. His passion for technology is contagious, improving everyone around him at what they do.
Blog site: https://www.checkyourlogs.net
Web site: https://carysun.com
Blog site: https://gooddealmart.com
Twitter: @SifuSun
in: https://www.linkedin.com/in/sifusun/
Amazon Author: https://Amazon.com/author/carysun
