Veeam released Veeam Backup for Microsoft Office 365 V3 on April 2, there are lots of function be increased and improved, including increased backup speeds, improved security with multi-factor authentication support, simplified management for larger environments, flexible retention options… etc.
The most import is Veeam release Community Edition version, what is Community Edition? It provides FREE backup and recovery of Office 365 Exchange Online, SharePoint Online and OneDrive for Business, eliminating the risk of losing access and control over your Office 365 data – limited to 10 users and 1 TB of SharePoint data. What are you waiting for? Let’s follow steps to configure it for protecting your Microsoft office 365 data.
- Login to Veeam server.
-
Open Veeam Backup for Microsoft Office 365 connect to…. console.

-
Click Connect on the Veeam Backup for Microsoft Office 365 console connect page.

-
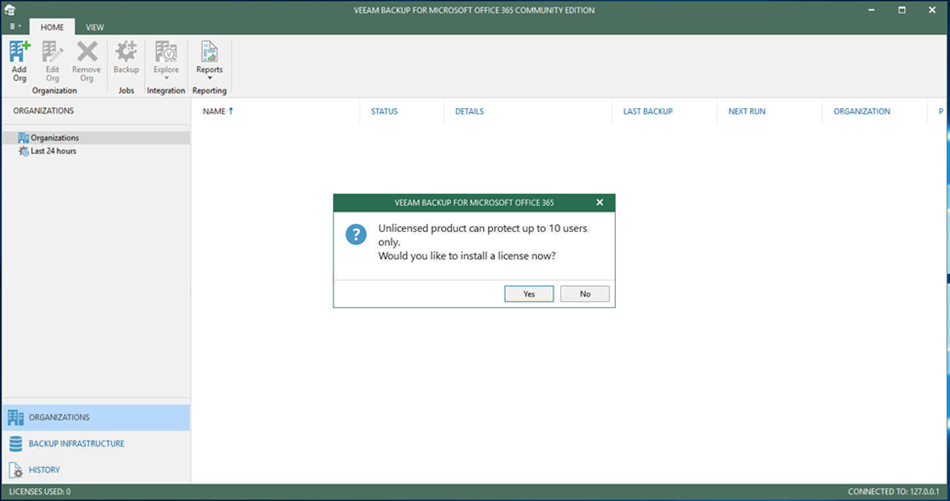
It will pop up a message and show you Unlicensed product can protect up 10 users only. Would you like to install a license now? Click Yes if you have your license file ready and need to protect than 10 users, or you can click No.

- If you click Yes, follow the steps to install license, you can ignore the install license steps if you click No.
-
On the License Information page, click Install.

-
Select your license file and click Open.

-
On the License Information page, make sure installed license information are correct and click OK.

-
There is import note which need to follow before add backup proxy server to Veeam Backup for Microsoft Office 365.
Backup proxy servers and the machine hosting Veeam Backup for Microsoft Office 365 must be deployed within the same or a trusted domain. System requirements as follow:

-
Select BACKUP INFRASTRUCTURE and right-click Backup Proxies and select Add Proxy.

-
On the Specify DNS name or IP address of the proxy server page, type proxy server host name and then Click Next.

-
On the Specify credentials to connect to the proxy server, select Use current account (or you can use a services account) and then click Next.

-
Make sure all Actions completed with error and then click Finish. (it’s very smart to detect and give you a warning message if the proxy server doesn’t meet requirements. E.g. my proxy server has two virtual CPU cores, but the hardware requirement is 4 cores minimum).

-
It will pop up a message and show you Would you like to create a repository for this proxy, click Yes.

-
On the Specify details for backup repository page, enter repository name and then click Next.

-
On the Specify location for backup repository page, select your Backup proxy server and click Browse for Path.

-
Select the folder as path and then click OK.

-
On the Specify location for backup repository page, click Next.

-
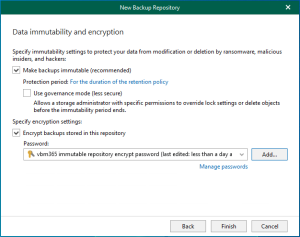
On the Specify retention policy settings page, I am going to keep the default settings and then click Finish.

-
On the console page, select ORGANIZATIONS, right-click Organizations and select Add organization…..

-
On the Organization deployment type page, select Microsoft Office 365 as deployment (it’s depended on your existing deployment environment).

-
Select Exchange Online and SharePoint Online and OneDrive for Business as services you want to protect. Click Next.

-
On the Office 365 connections settings page, select Default as Region.

-
On the Select authentication method, you can select Modern authentication if you are using MFA and certificate-based to access Office 365 services. Click Next.

-
On the Exchange Online credentials page, you need to enter your credential information and click Next.

-
On the Select authentication method, you can select Basic authentication if you are not using MFA and certificate-based to access Office 365 services. Click Next.

-
On the Exchange Online credentials page, you need to enter your credential information and click Next.

-
Veeam backup for Microsoft Office 365 will very connection and organization parameters, if your account not meet the requirements and it will show warning message and ask you to check it. Make sure everything is correct and then click Finish.

-
In my case, I need to login Microsoft Office admin center and assign ApplicationImpersonation role to the service account and then it will be fine.

-
It’s time to create a backup job, right-click your organization and select Backup…

-
On the Specify job name and description page, enter name for your backup job. Click Next.

-
On the Select objects to back up page, select Back up entire organization if you have enough users license for entire organization, if not, you need to select Back up the following objects. You can add by users, groups, sites and Organization. Click Next after you add them.

-
On the select objects to exclude page, you can add by users, groups, sites and Organization. Click Next after you add them.

-
On the Specify backup proxy and repository page, select backup proxy and repository and then click Next.

-
On the Select scheduling options page, enter your schedule information and click Create.

-
If you would like to change mailbox folders from backup, you can select General options from console.

-
On the Options page, select Folders and Specify mailbox folders to exclude from backup.

Hope you enjoy this post.
Cary Sun
Twitter: @SifuSun
Author: Cary Sun
Cary Sun has a wealth of knowledge and expertise in data center and deployment solutions. As a Principal Consultant, he likely works closely with clients to help them design, implement, and manage their data center infrastructure and deployment strategies.
With his background in data center solutions, Cary Sun may have experience in server and storage virtualization, network design and optimization, backup and disaster recovery planning, and security and compliance management. He holds CISCO CERTIFIED INTERNETWORK EXPERT (CCIE No.4531) from 1999. Cary is also a Microsoft Most Valuable Professional (MVP), Microsoft Azure MVP, Veeam Vanguard and Cisco Champion. He is a published author with several titles, including blogs on Checkyourlogs.net, and the author of many books.
Cary is a very active blogger at checkyourlogs.net and is permanently available online for questions from the community. His passion for technology is contagious, improving everyone around him at what they do.
Blog site: https://www.checkyourlogs.net
Web site: https://carysun.com
Blog site: https://gooddealmart.com
Twitter: @SifuSun
in: https://www.linkedin.com/in/sifusun/
Amazon Author: https://Amazon.com/author/carysun
