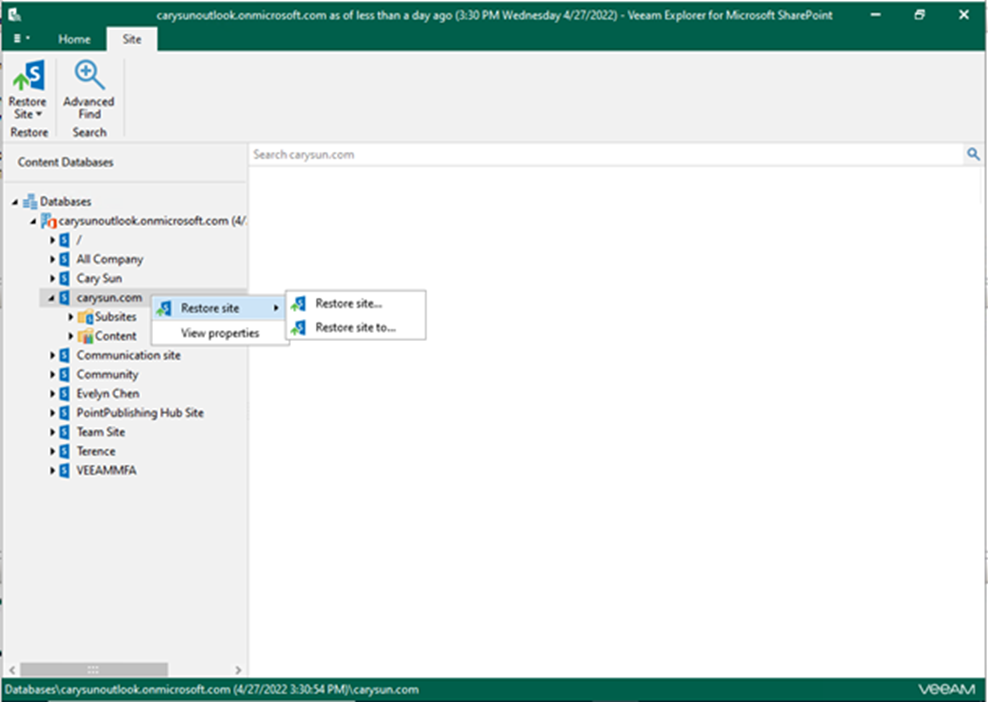
We use Veeam Explorer for Microsoft SharePoint to restore data of SharePoint Online. This tool is used to restore and export data from Veeam Backup for Microsoft 365 backups.
You can also save backup data to a local computer and send backup data via email.
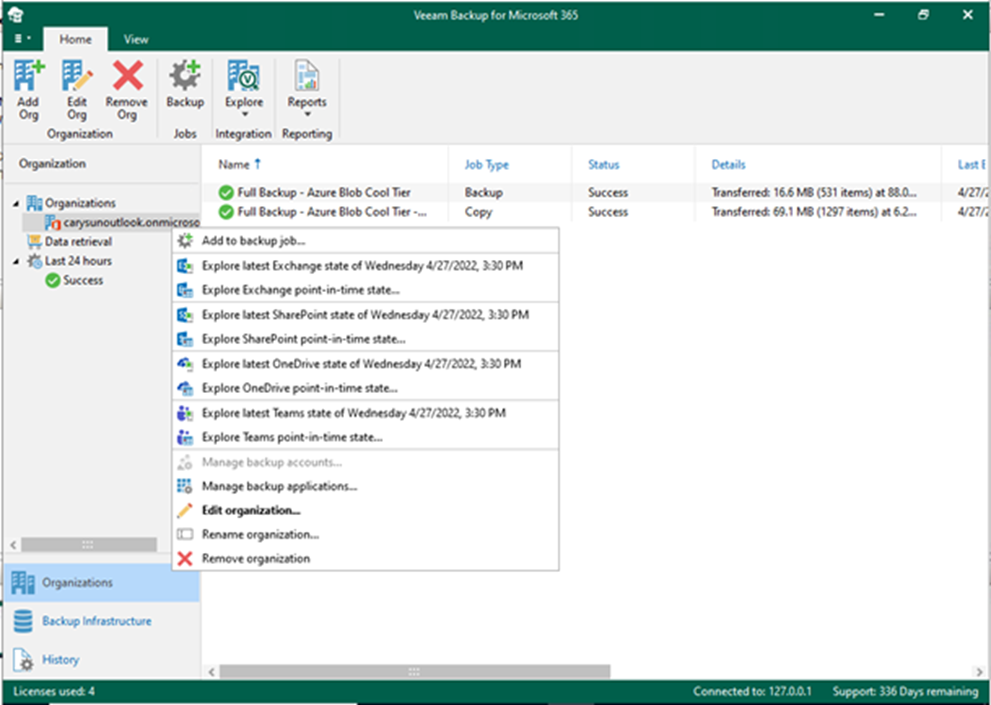
1. Logon to Veeam Backup for Microsoft 365 Manager server.
2. Open Veeam Backup for Microsoft 365 console.
3. On the Veeam Backup for Microsoft 365 console page, expand Organizations, select the organization, and right-click the organization or backup job.
4. Select one of the following options.
- Explore the latest <product> state of <date_and_time>. To explore the latest backup state.
- Explore <product> point-in-time state. Select a point-in-time state.
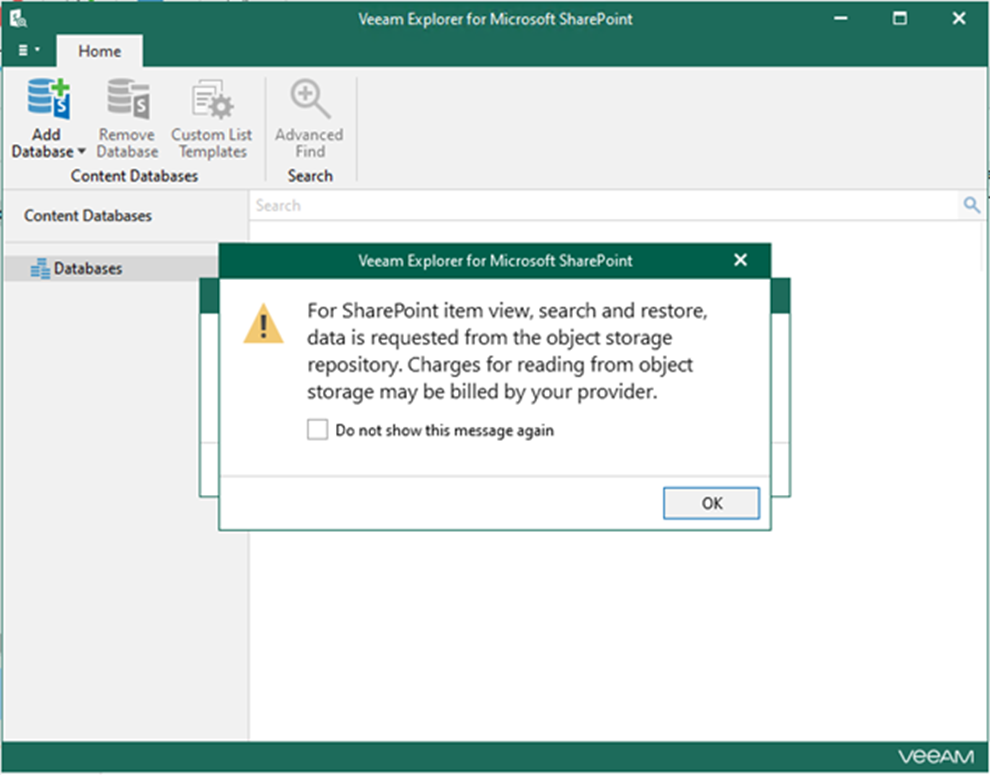
5. If the SharePoint item view, search and restore data is requested from the object storage repository, it will pop a warning message and click OK.
6. Right-click specify items that you want to restore.
7. Select where you want to restore the selected items. In my case, select Restore site.

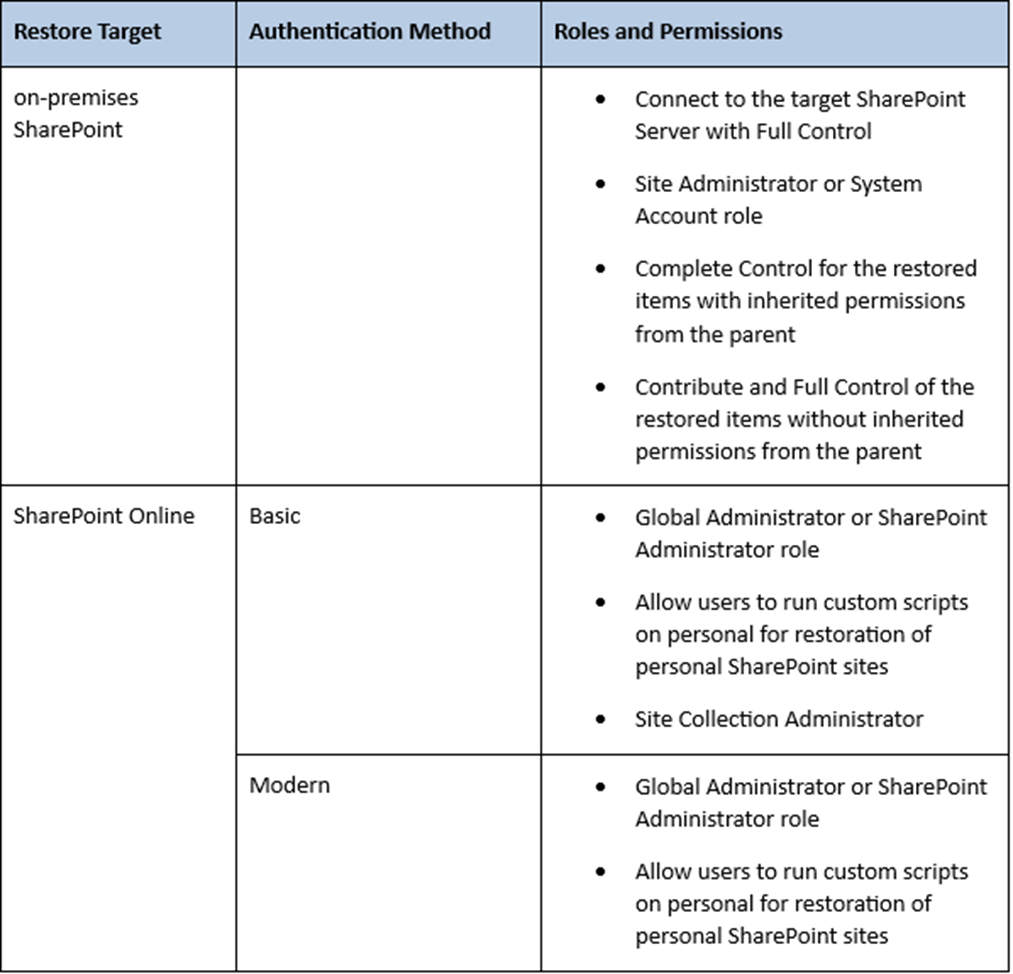
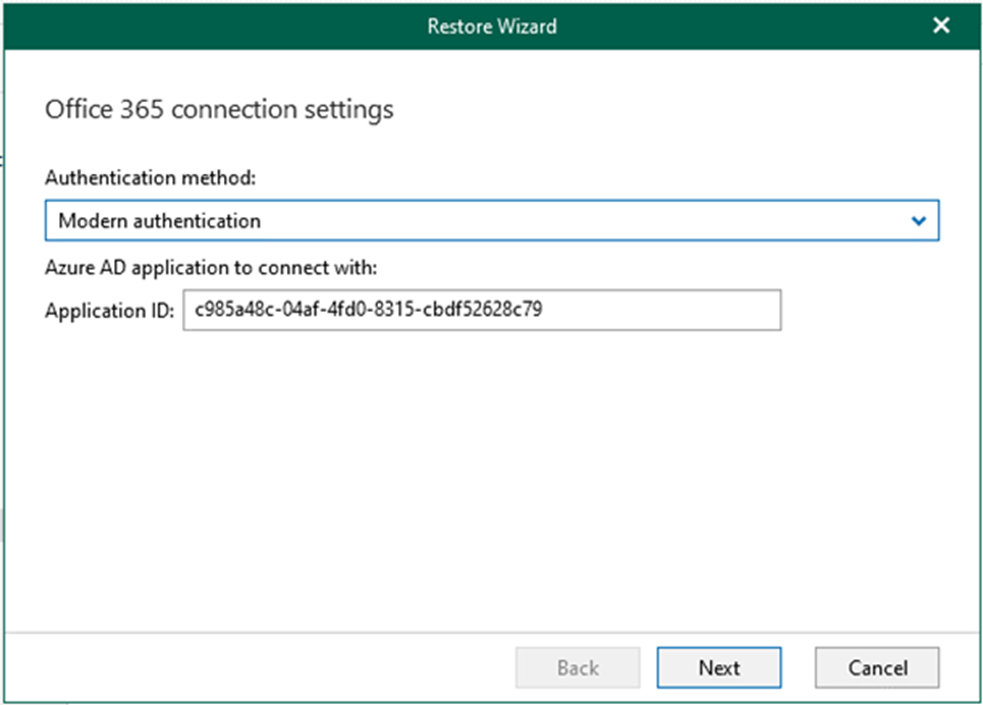
8. On the Microsoft 365 connection settings page, specify the authentication method and Application ID and click Next. In my case, select Modern authentication.
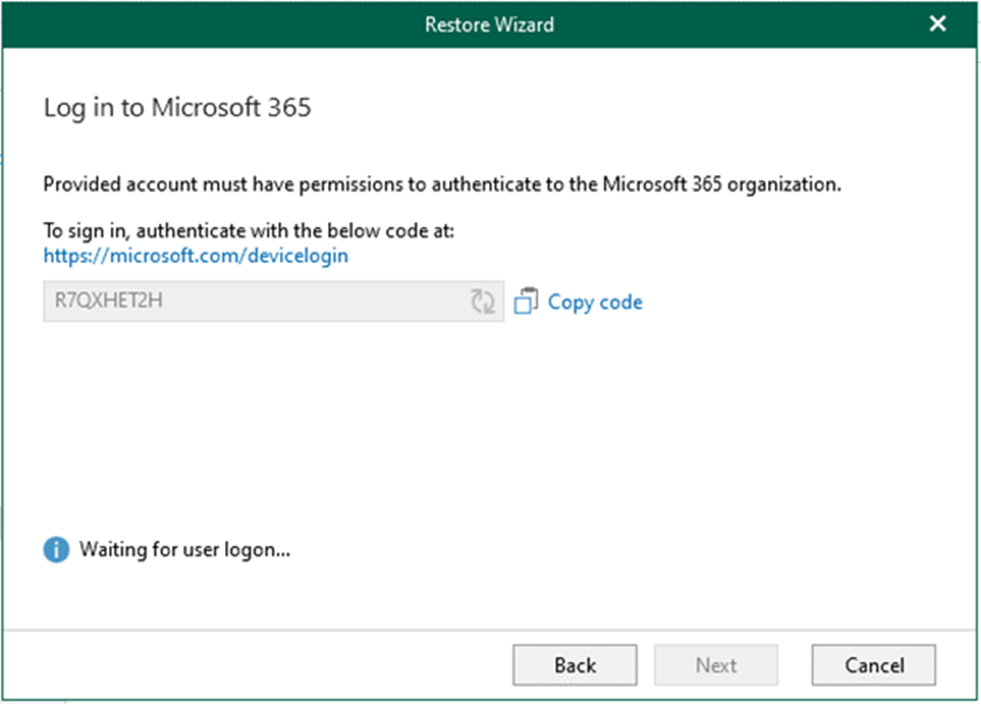
9. On the Log in Microsoft 365 page, click copy code and click the sign-in link.
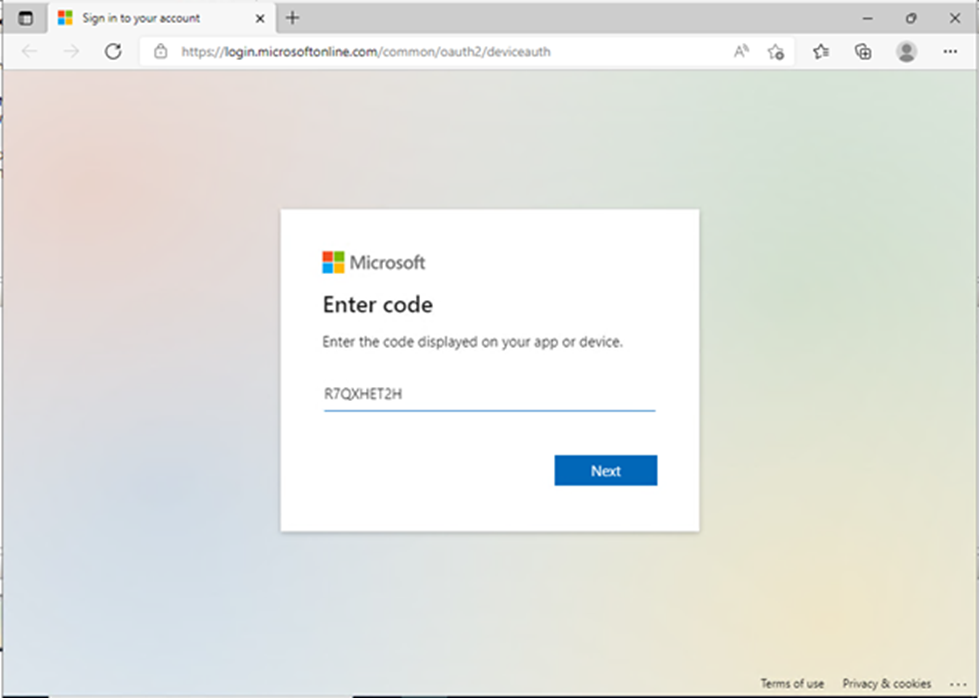
10. Enter the code and click Next.
11. Enter your account name and click Next.
12. Ensure to sign in with the user account that must have permission to authenticate to the Microsoft 365 organization.
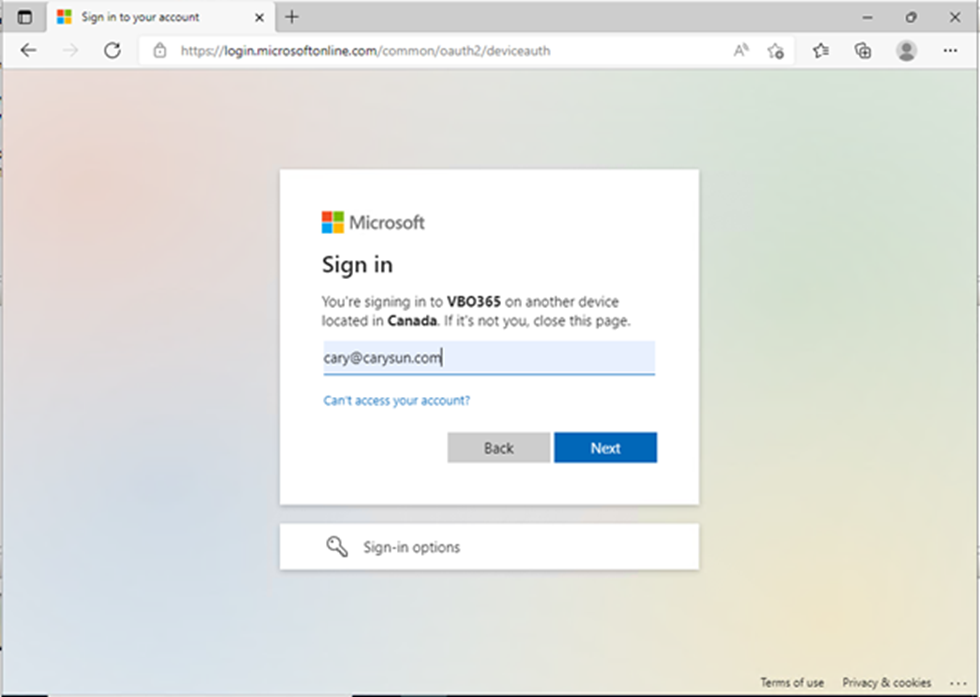
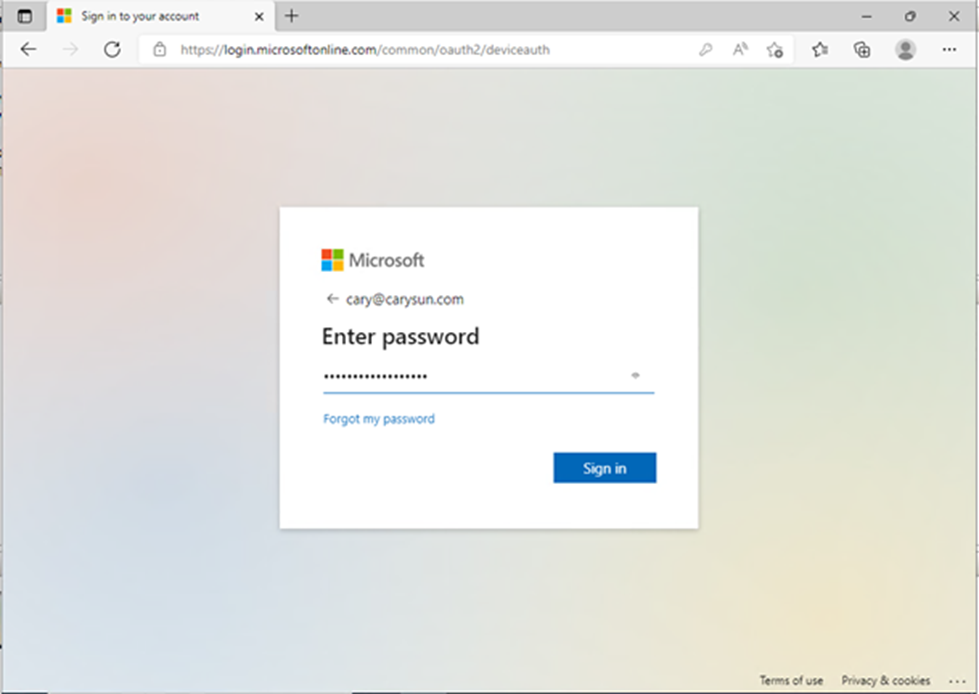
13. Enter your password and click Sign in.
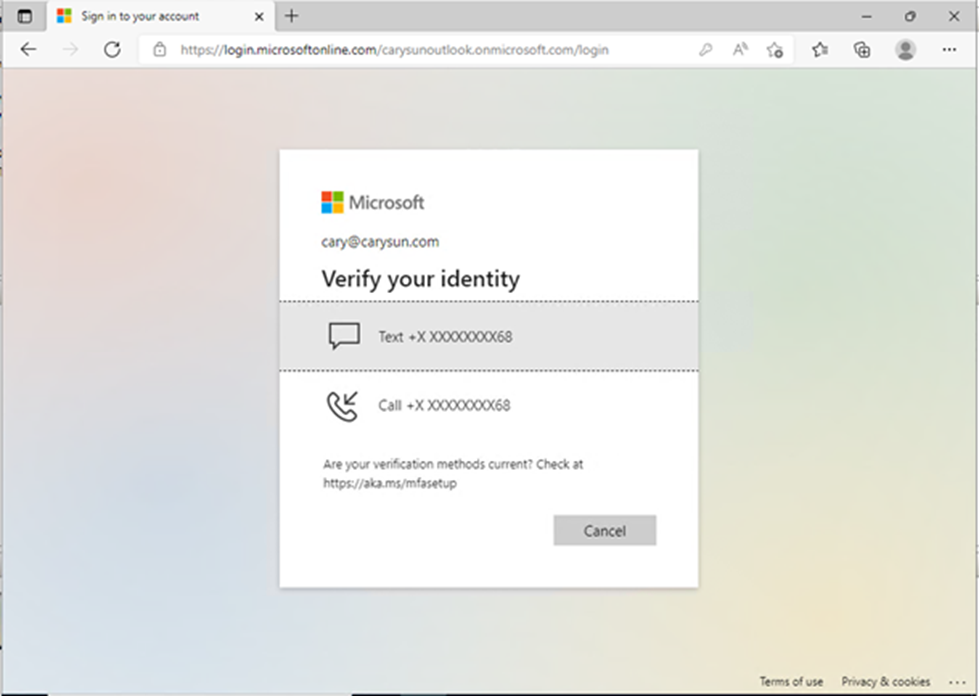
14. On the Verify your identity page, select the identity method.
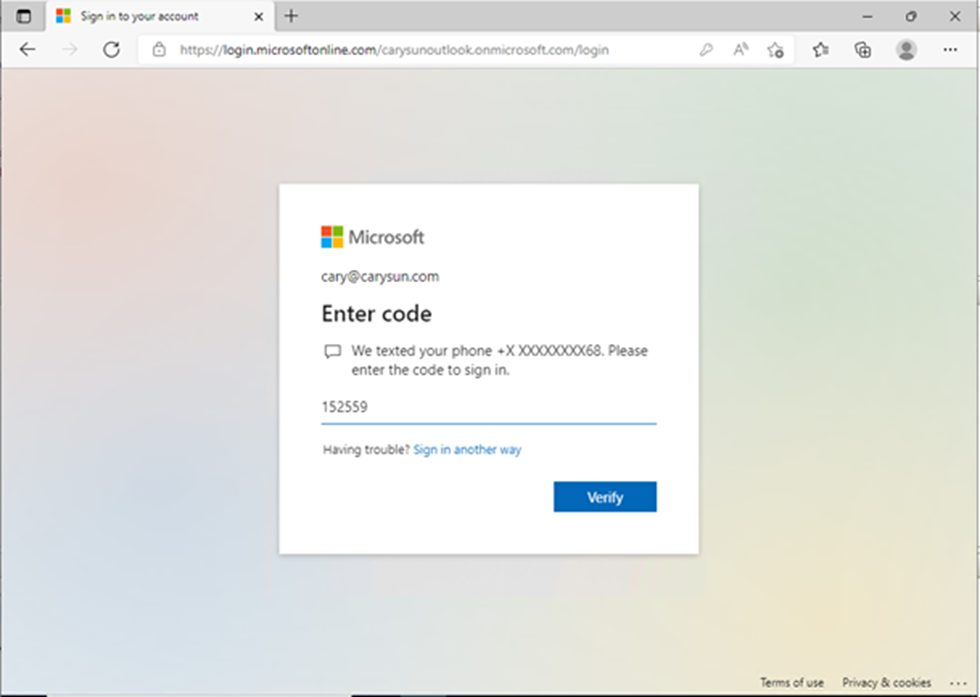
15. Enter the code and click Verify.
16. On the sign-in confirm page, click Continue.
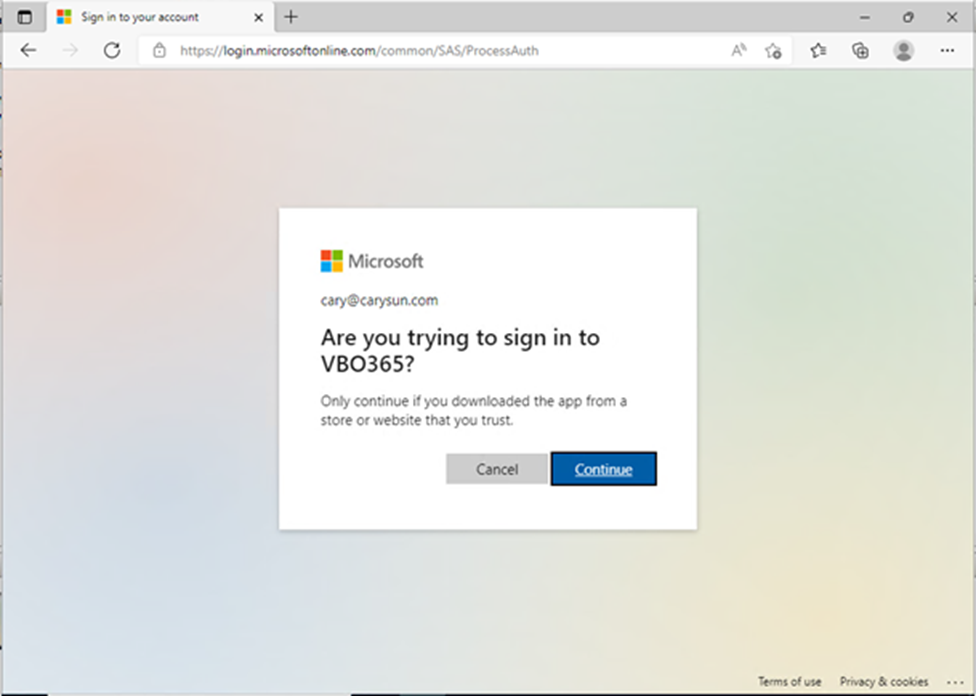
17. Close the sign-in window after making sure you signed in successfully.
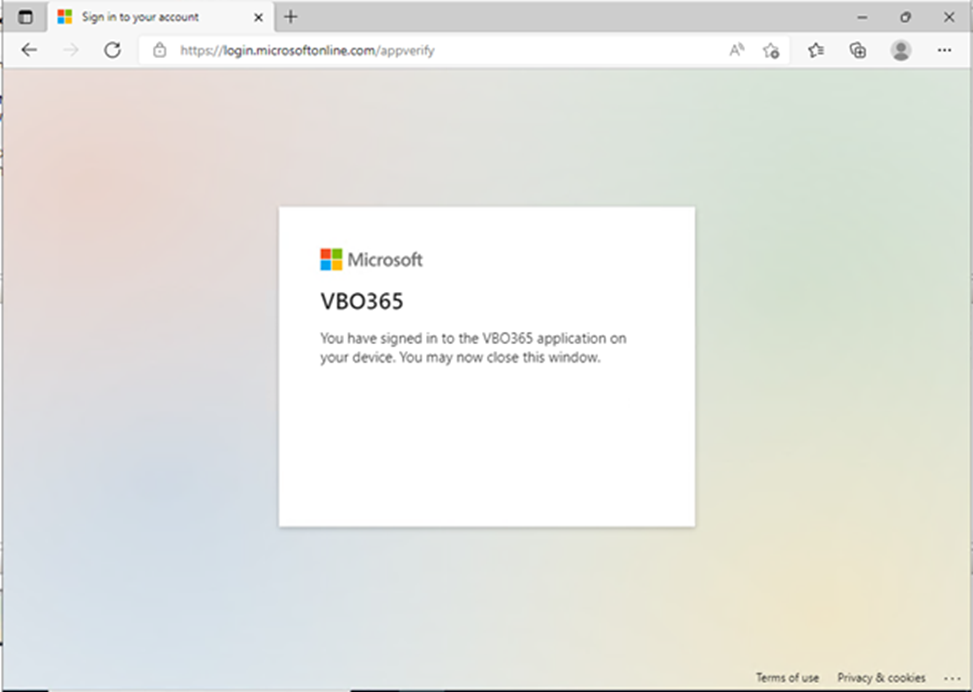
18. On the Log in to Microsoft 365 page, make sure you are authenticated to Microsoft 365 and click Next.
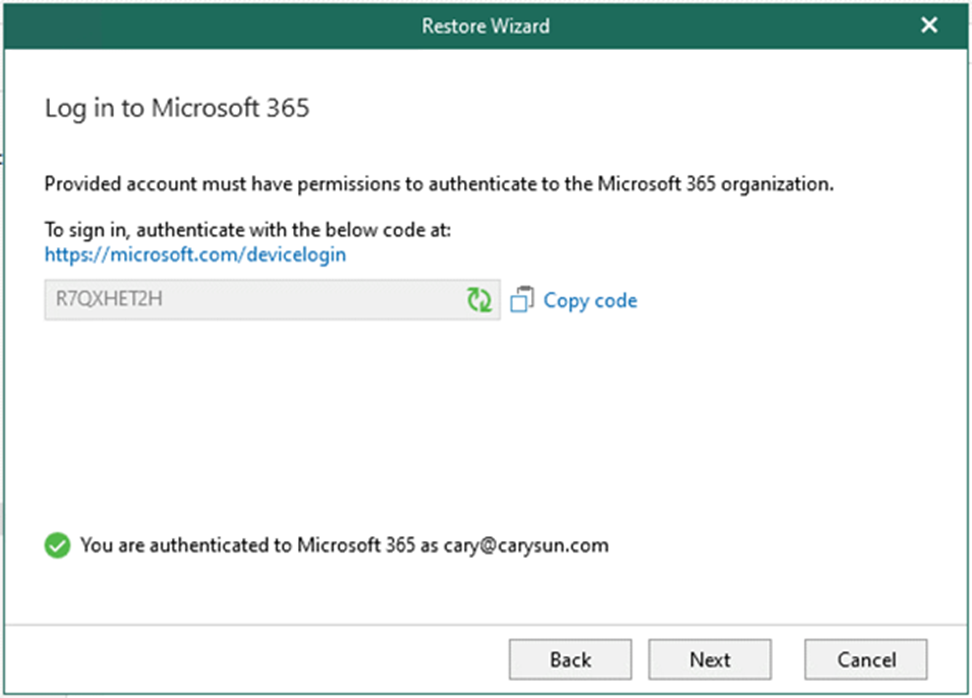
19. On the Target site alias page, specify the target site you want to restore. In my case, select Restore to the original site and click Next.
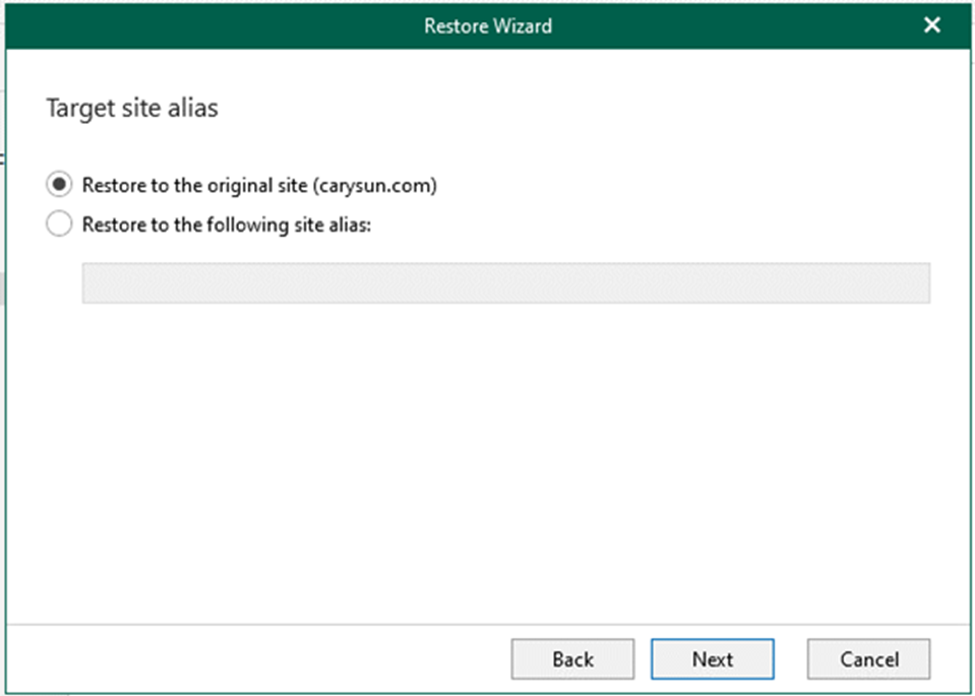
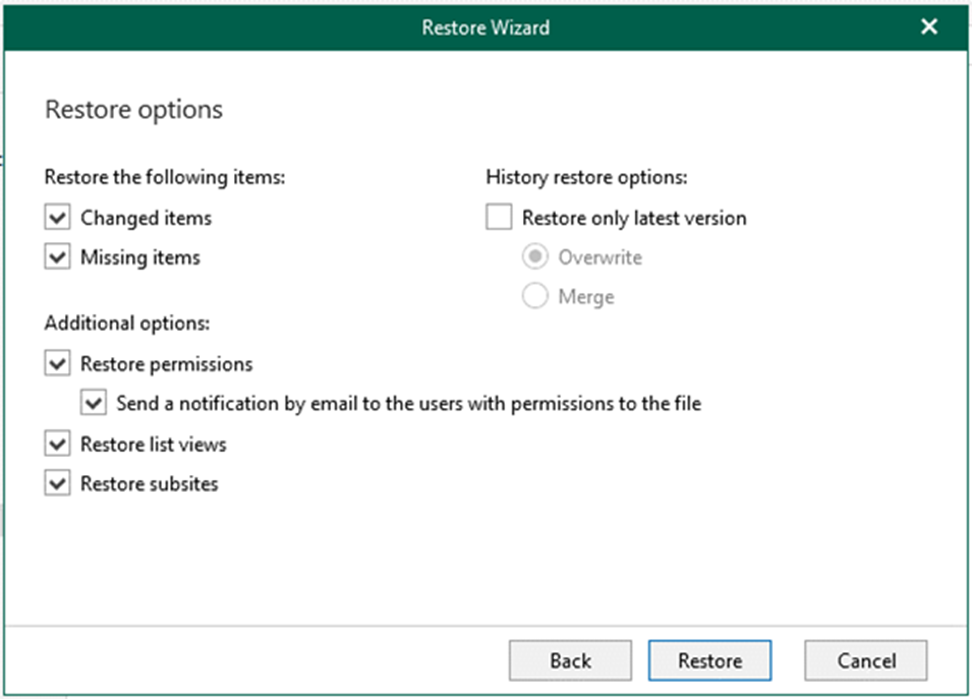
20. On the Restore Options page, specify the options and click Restore.
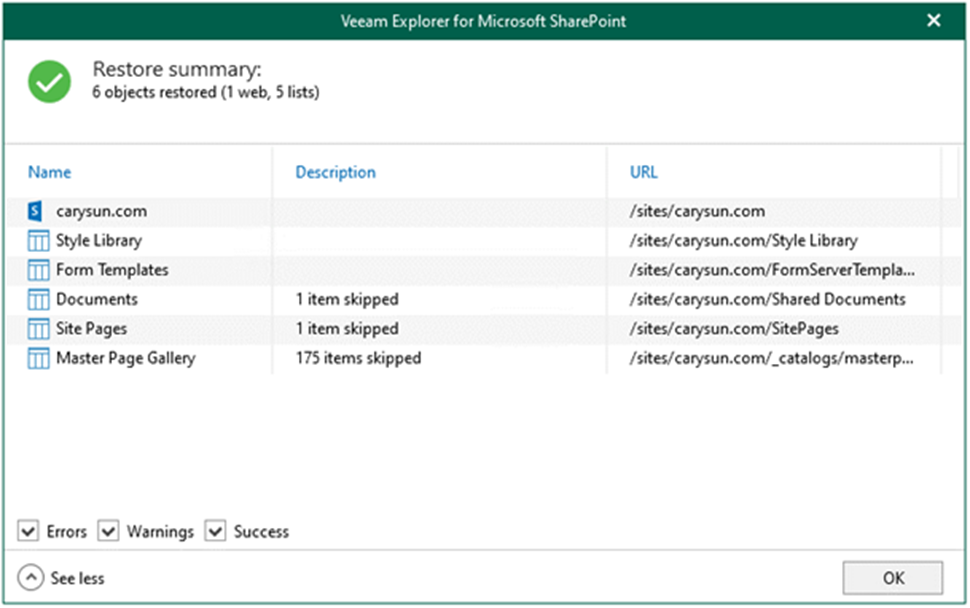
21. On the Restore summary page, verify and ensure the objects are restored without error and click OK.
I hope you enjoy this post.
Cary Sun
Twitter: @SifuSun
Web Site: carysun.com
Blog Site: checkyourlogs.net
Blog Site: gooddealmart.com
Author: Cary Sun
Cary Sun has a wealth of knowledge and expertise in data center and deployment solutions. As a Principal Consultant, he likely works closely with clients to help them design, implement, and manage their data center infrastructure and deployment strategies.
With his background in data center solutions, Cary Sun may have experience in server and storage virtualization, network design and optimization, backup and disaster recovery planning, and security and compliance management. He holds CISCO CERTIFIED INTERNETWORK EXPERT (CCIE No.4531) from 1999. Cary is also a Microsoft Most Valuable Professional (MVP), Microsoft Azure MVP, Veeam Vanguard and Cisco Champion. He is a published author with several titles, including blogs on Checkyourlogs.net, and the author of many books.
Cary is a very active blogger at checkyourlogs.net and is permanently available online for questions from the community. His passion for technology is contagious, improving everyone around him at what they do.
Blog site: https://www.checkyourlogs.net
Web site: https://carysun.com
Blog site: https://gooddealmart.com
Twitter: @SifuSun
in: https://www.linkedin.com/in/sifusun/
Amazon Author: https://Amazon.com/author/carysun
