This procedure upgrades a Windows Server 2012 R2 generation Hyper-V virtual machine to Windows Server 2019 (2022) generation 2 Hyper-V virtual machine.
You can use the same procedure to upgrade a Windows Server 2012 R2 generation Hyper-V virtual machine to Windows Server 2019 (2022) generation 2 Hyper-V virtual machine.
The MiniTool Partition software supports windows 10 for free, and we will use a Windows 10 Hyper-V generation 1 virtual machine and mini partition tool to help us to upgrade it.
1.Logon to the Windows Server 2012R2 virtual machine.
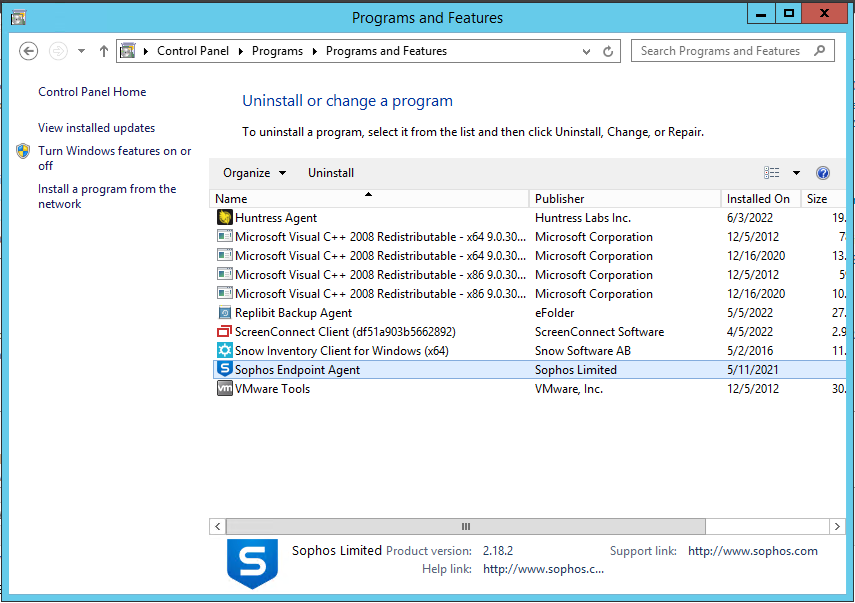
2.Open Programs and Features and uninstall Anti-virus and backup agent software.
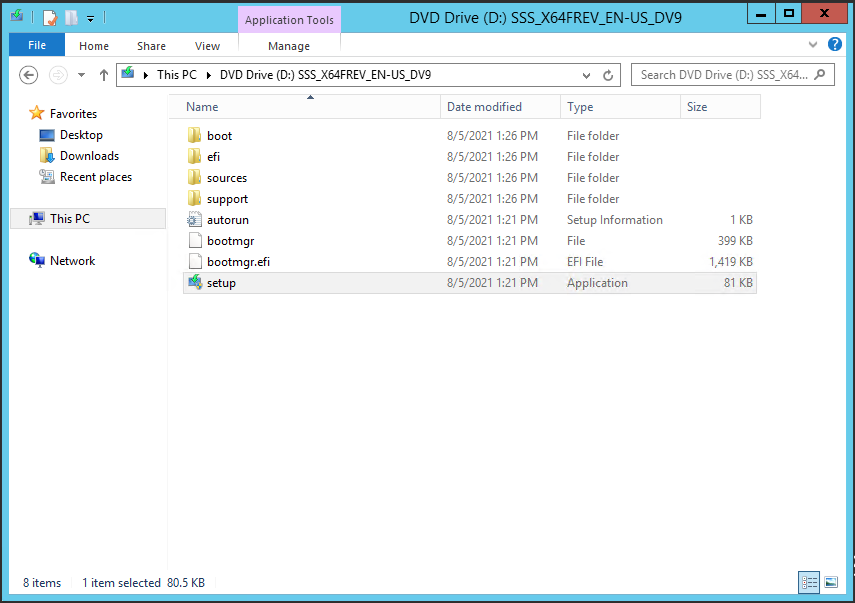
3.Mount the Windows Server 2019 ISO image file and select setup.exe.
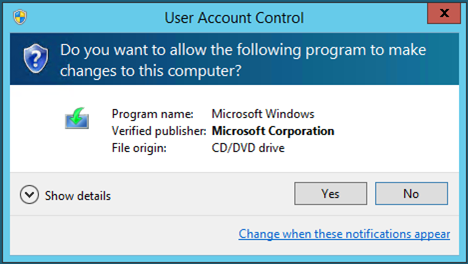
4.Click Yes on the User Account Control page.
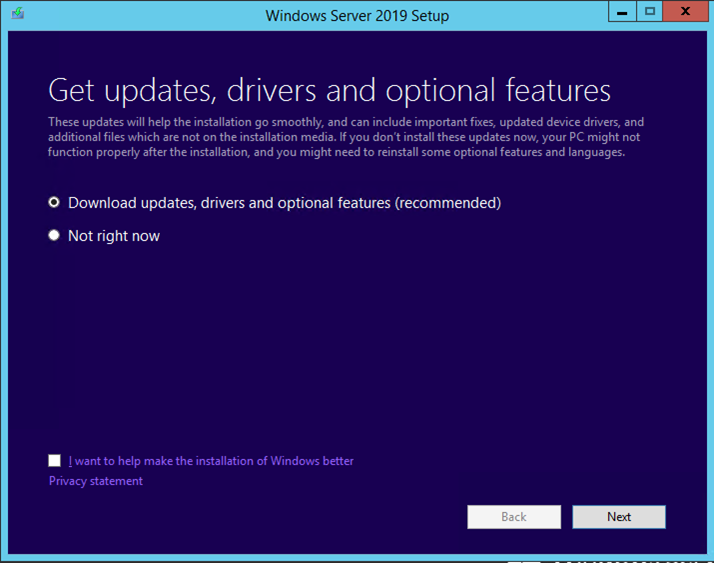
5.Select Download updates, drives and optional features (recommended) on the Get updates, drives and optional features page.
6.Click Next.
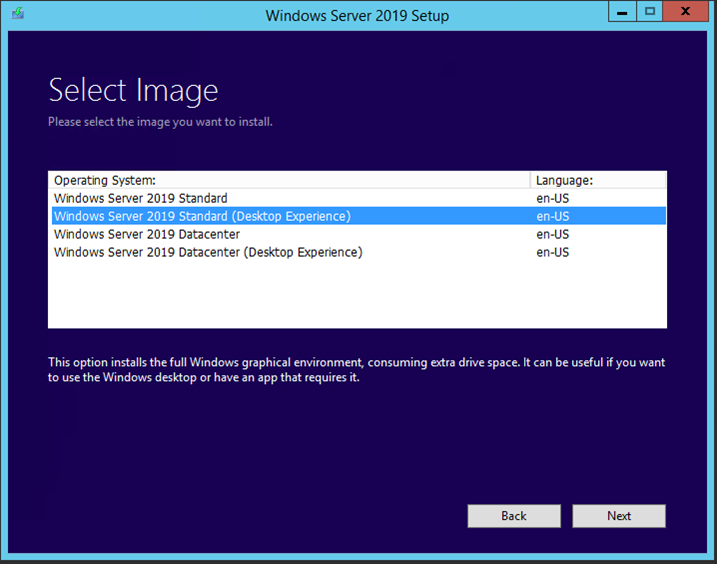
7.Select Windows Server 2019 Standard (Desktop Experience) on the Select Image page and click Next.
Note:
The Windows Server 2019 version must be the same as Windows Server 2012 R2.
8.On the Applicable notices and license terms page, click Accept.

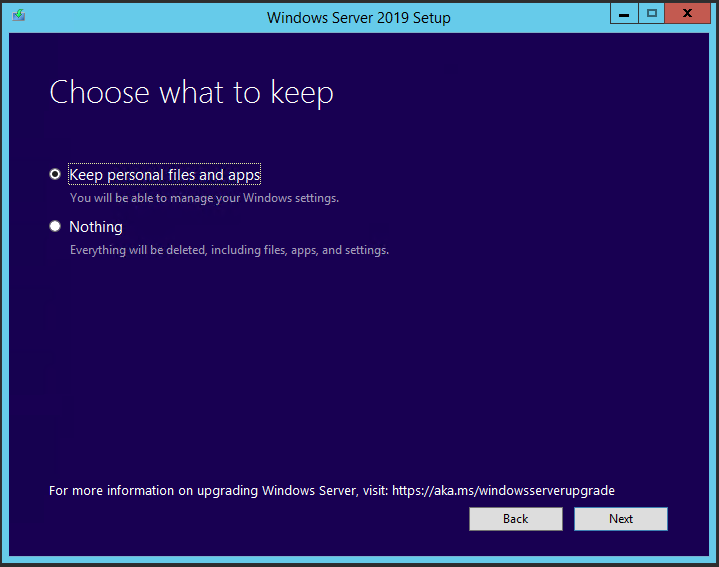
9.Select Keep personal files and apps on the Choose what to keep page and click Next.
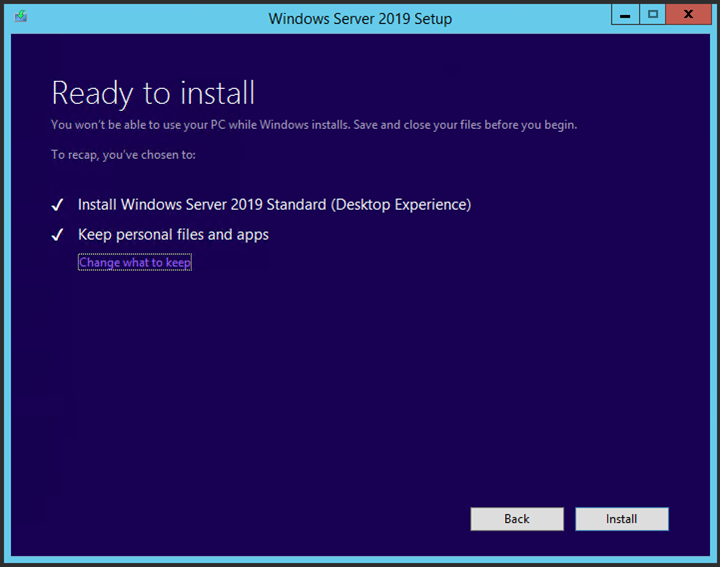
10.Click Install on the Ready to install page.
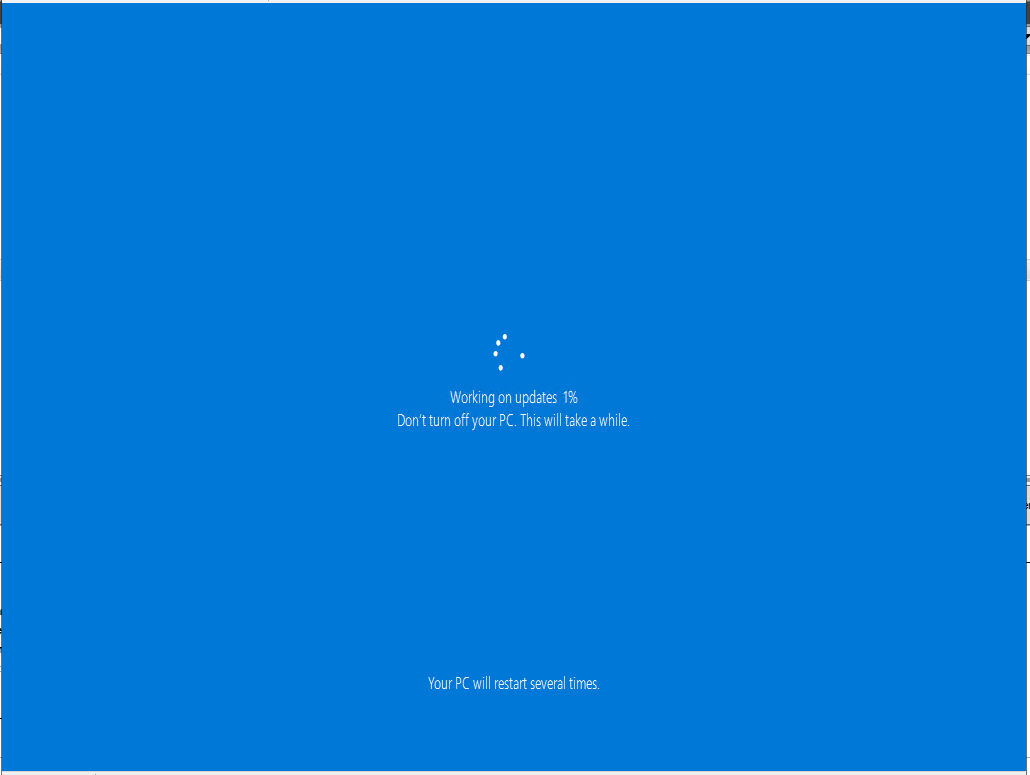
11.The virtual machine will restart serval times when upgrading to Windows Server 2019.
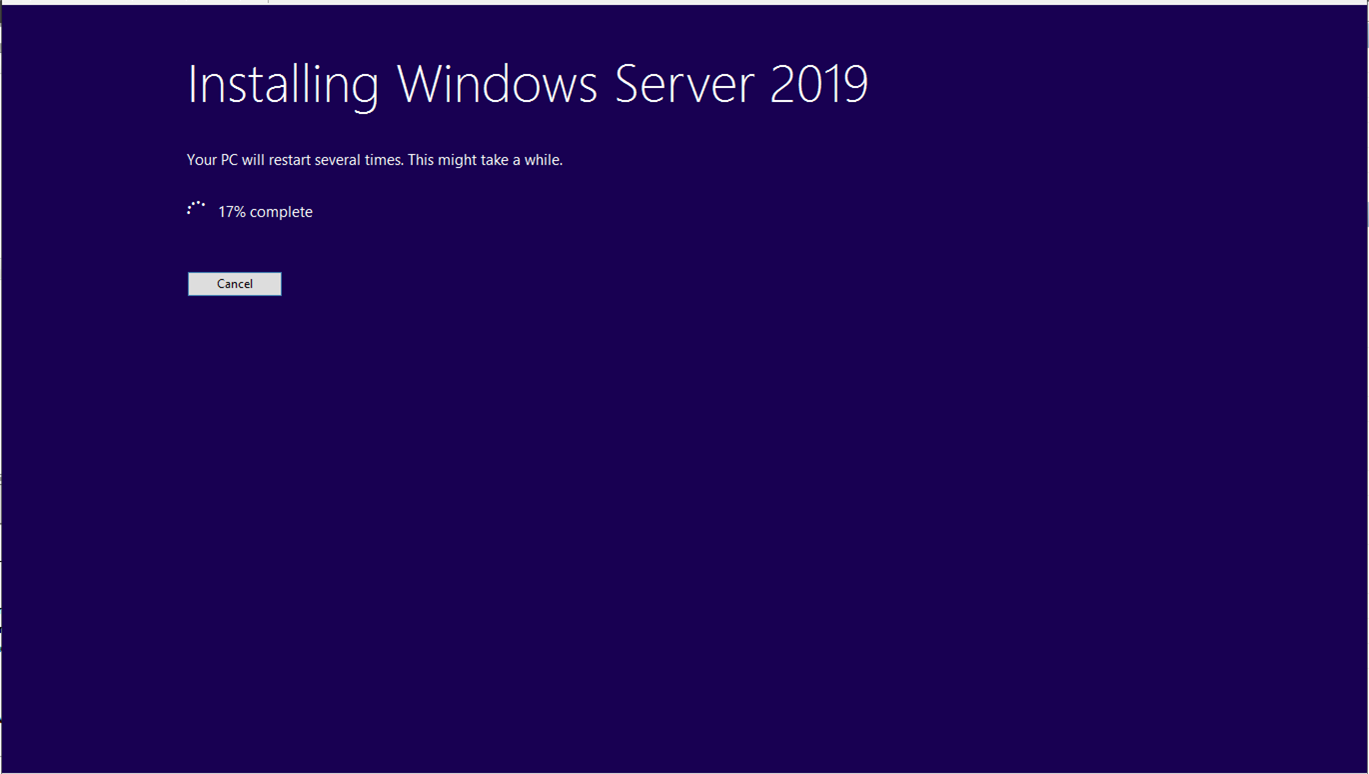
12.Don’t turn off the virtual machine when it’s working on updates.

13.Logon to the virtual machine after upgrading is completed.
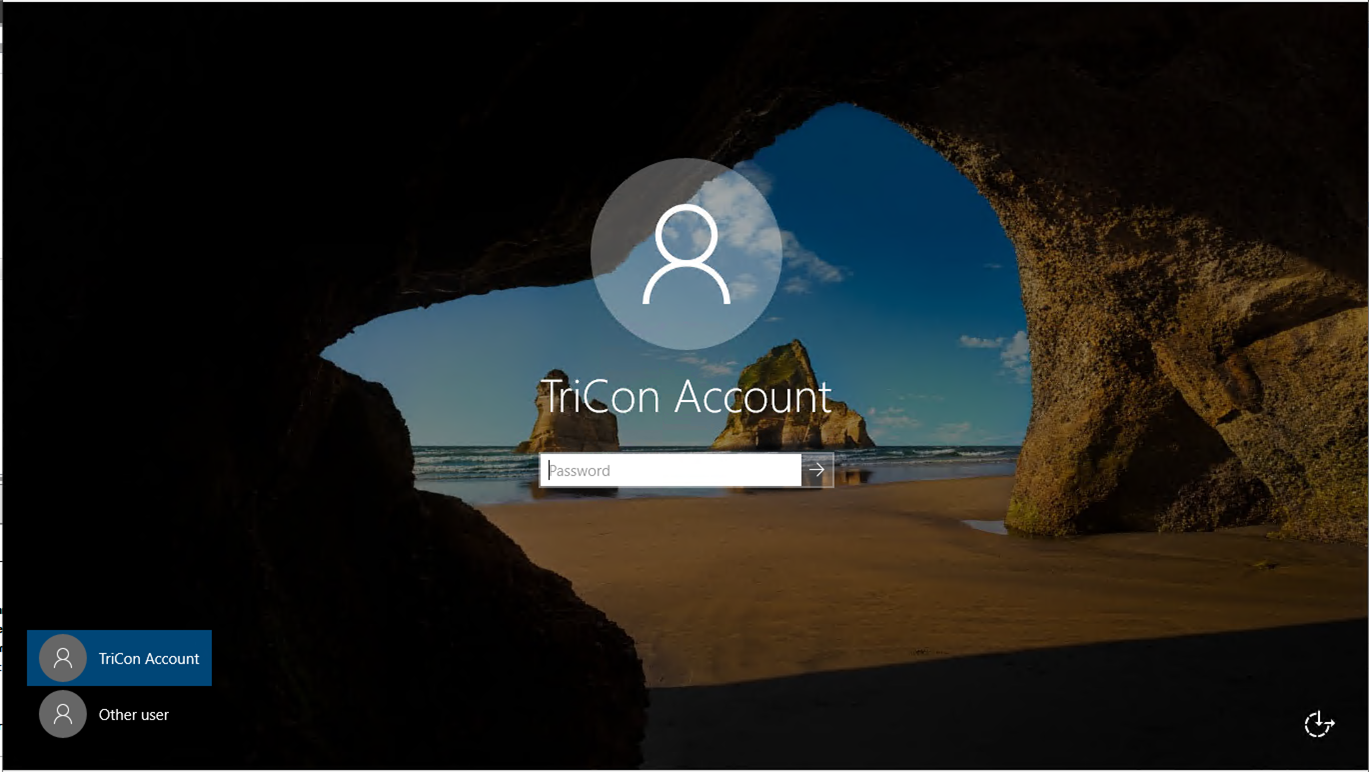
14.Review the server status to ensure it’s working perfectly.
15.Shut down the virtual machine.
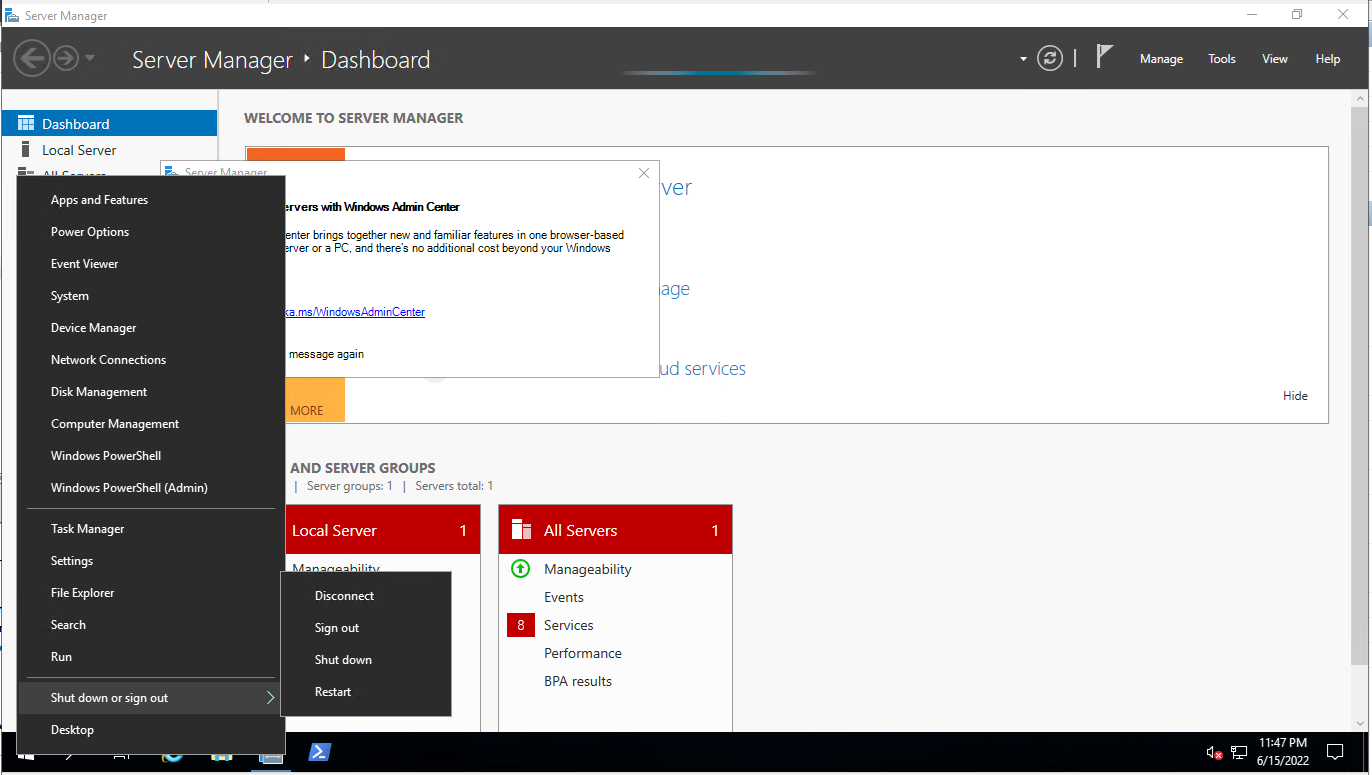
16.Open the Hyper-V Manager tool, Right-click the 2012 R2 virtual machine and select Settings.
17.Expand IDE Controller 0 on the Hardware page, select the C drive hard Drive and click Remove.
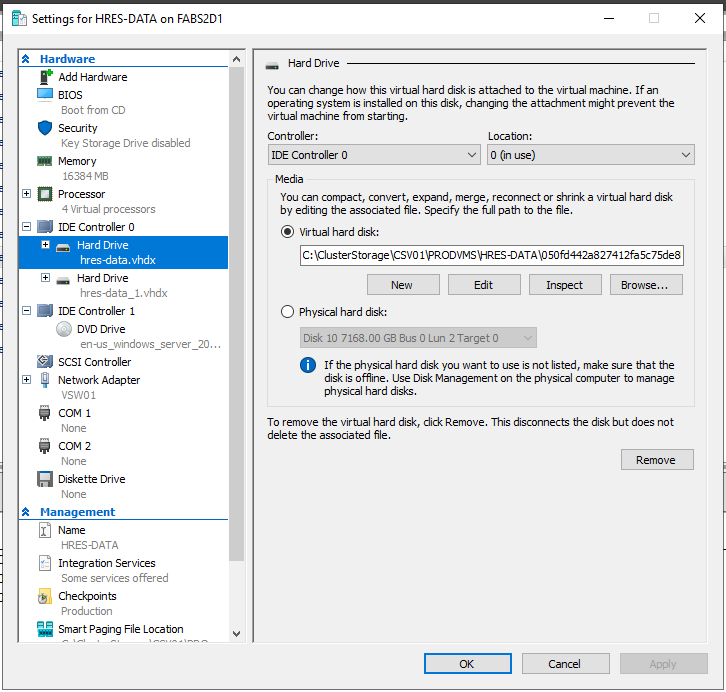
18.If you have multiple drives, repeat the steps to remove them.
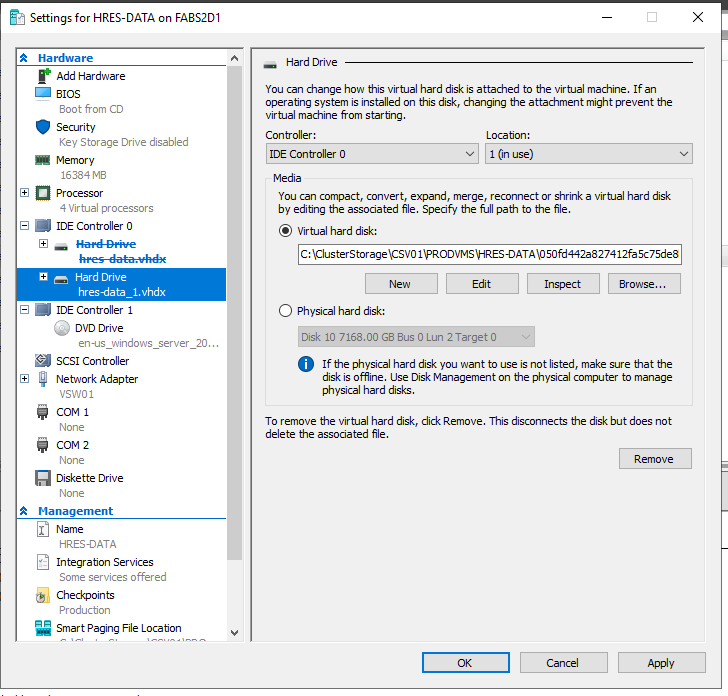
19.Click Apply on the Settings page.
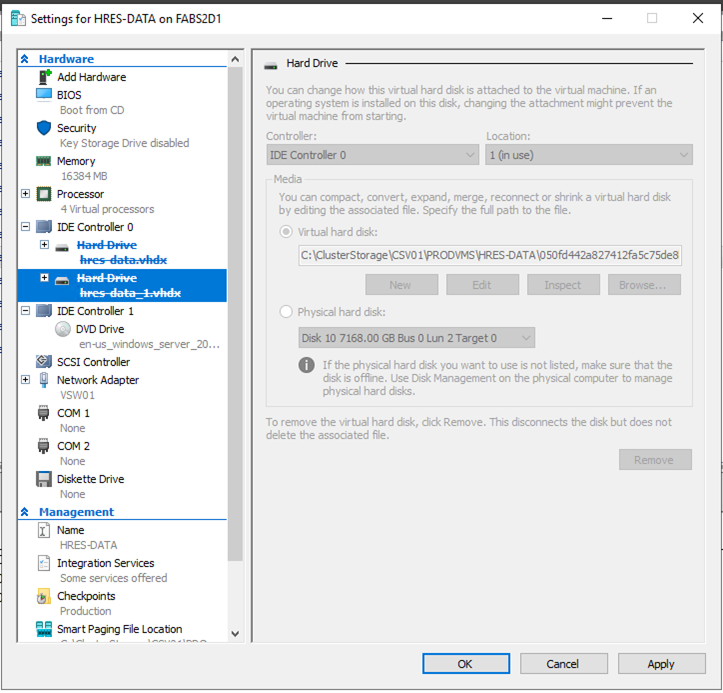
20.Click OK on the Settings page.
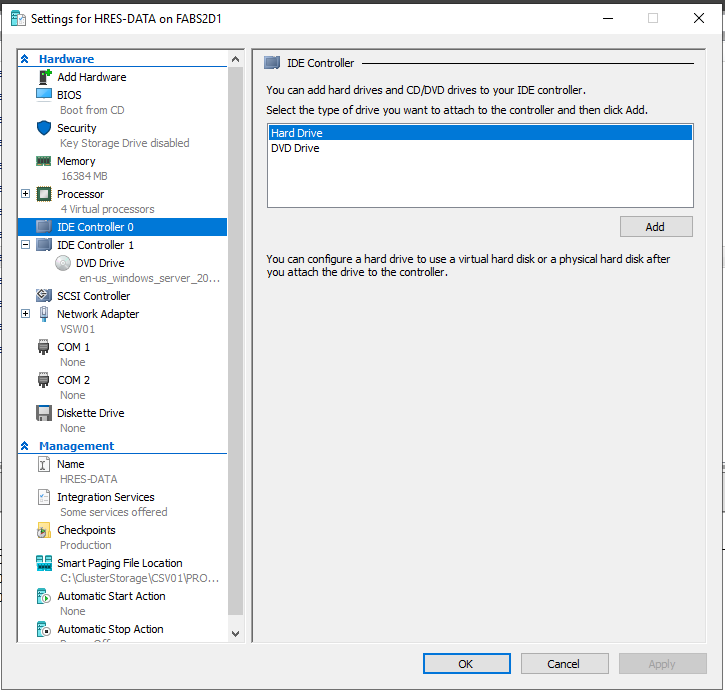
21.Open the Hyper-V Manager tool and Right-click the Windows 10 generation 1 virtual machine.
22.Select IDE Controller 0 on the Hardware page.
23.Select Hard Drive in the IDE Controller session and click Add.
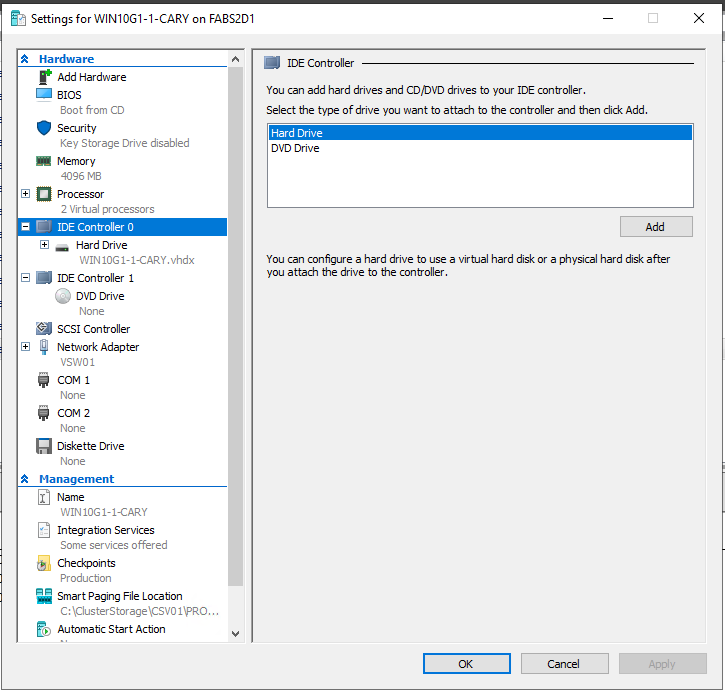
24.Click Browse in the Virtual hard disk field.
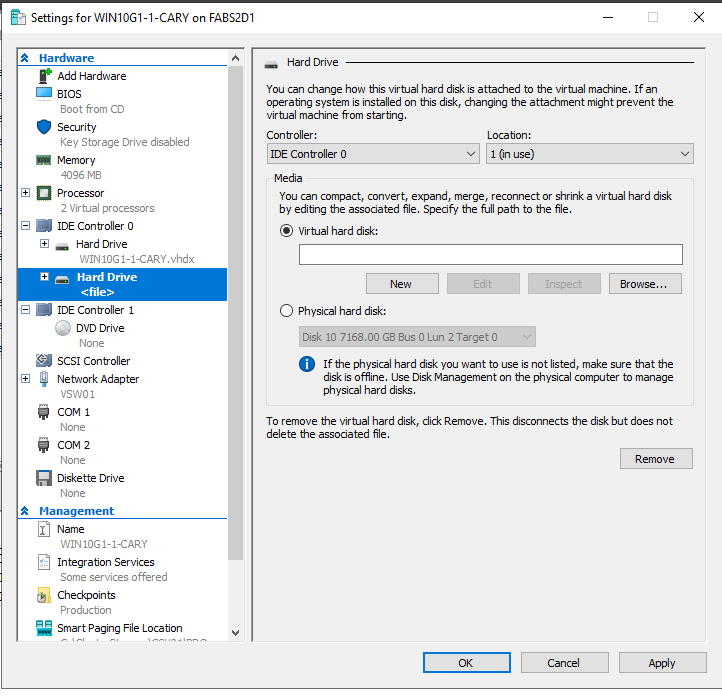
25.Select the unmounted Windows 2012 R2 VHDX file and click Open.
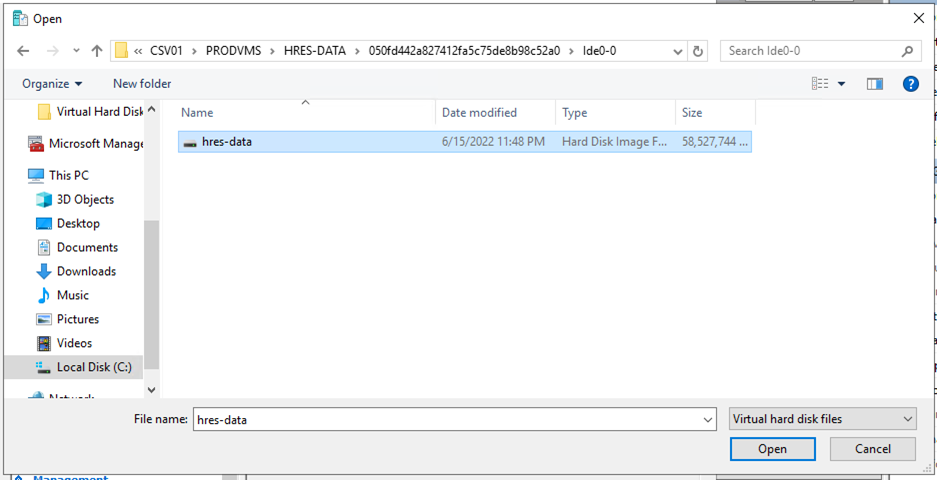
26.If you have multiple disks, select IDE Controller 1 or SCSI Controller (you must use the same controller type as the original one) on the Hardware page.
27.Select Hard Drive in the IDE (or SCSI) Controller session and click Add.
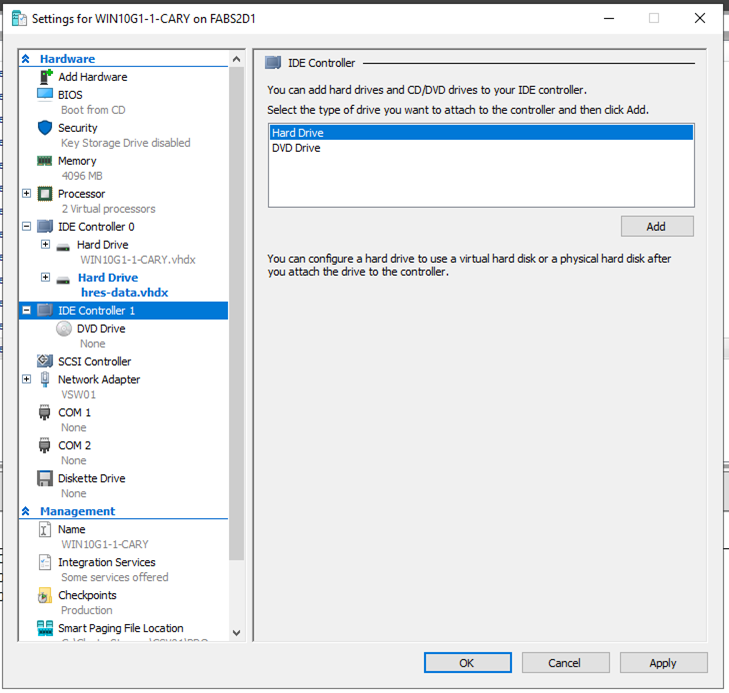
28.Click Browse in the Virtual hard disk field.
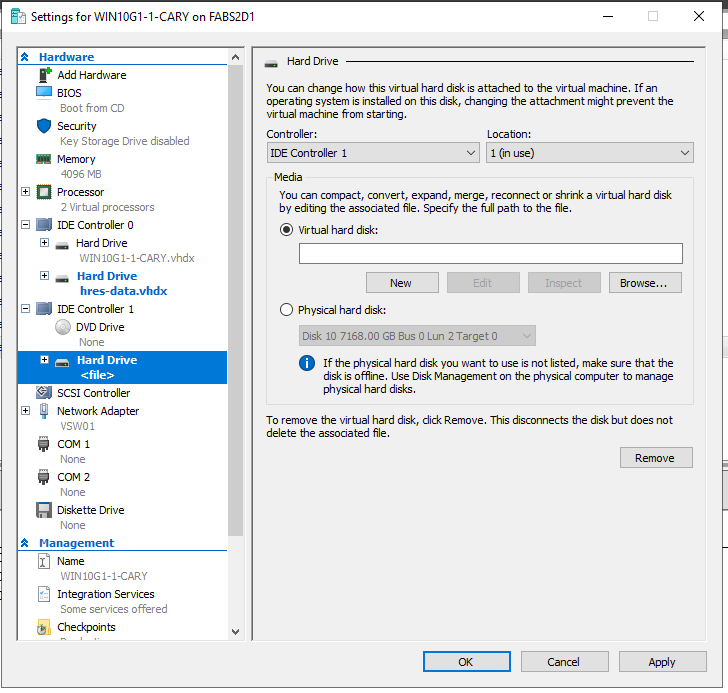
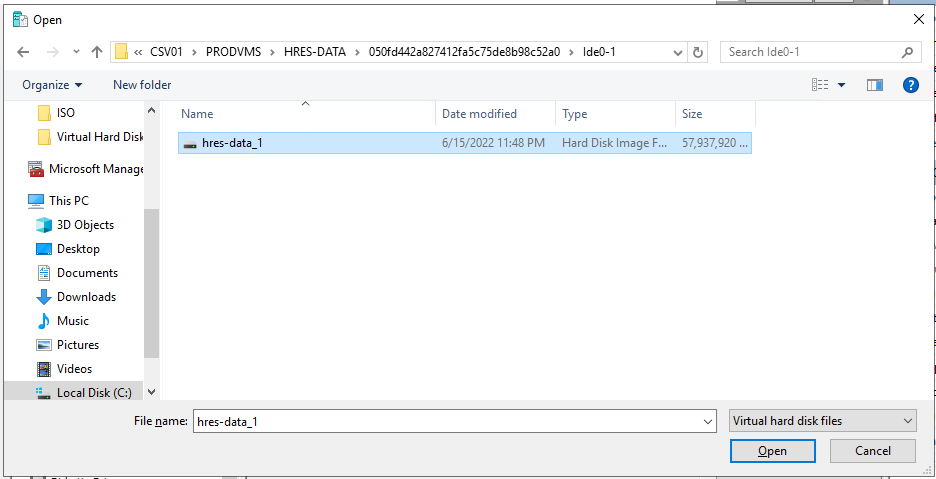
29.Select the unmounted Windows 2012 R2 VHDX file and click Open.
30.Click Apply on the Settings page.
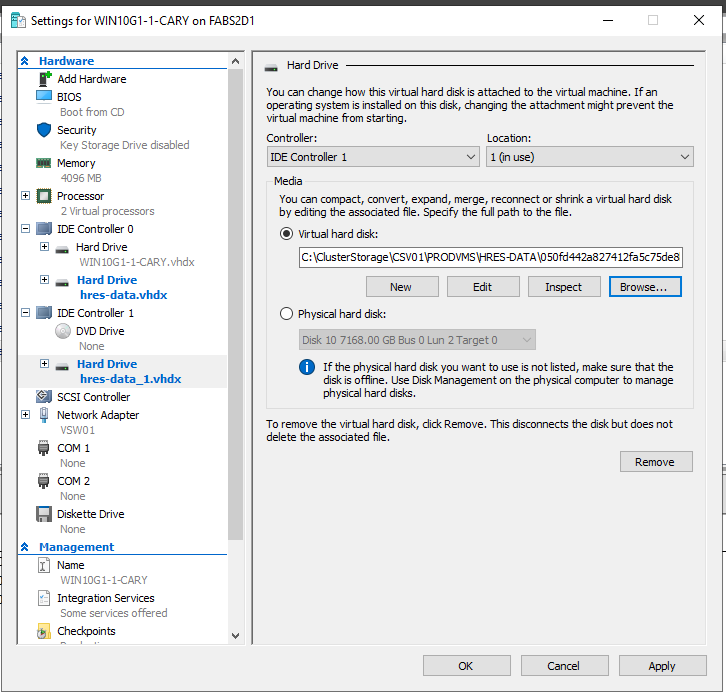
31.Click OK on the Settings page.
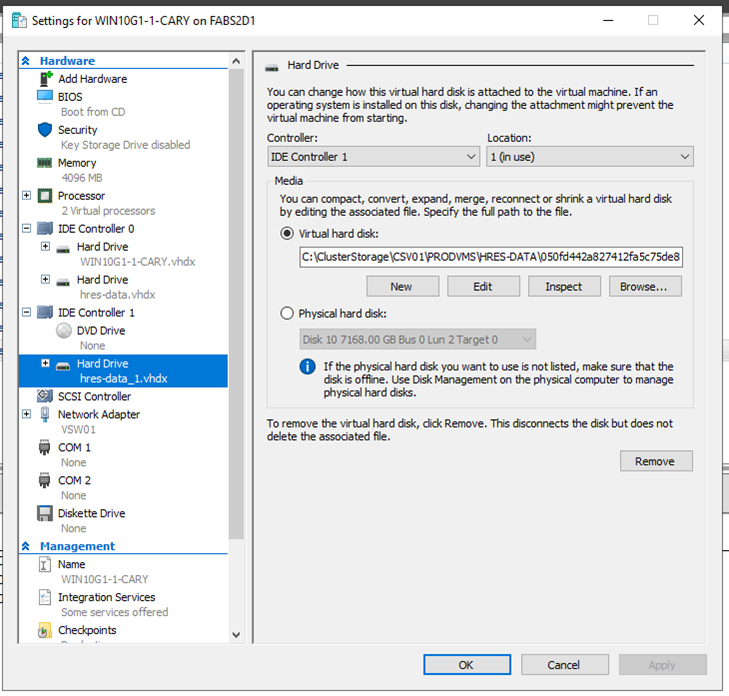
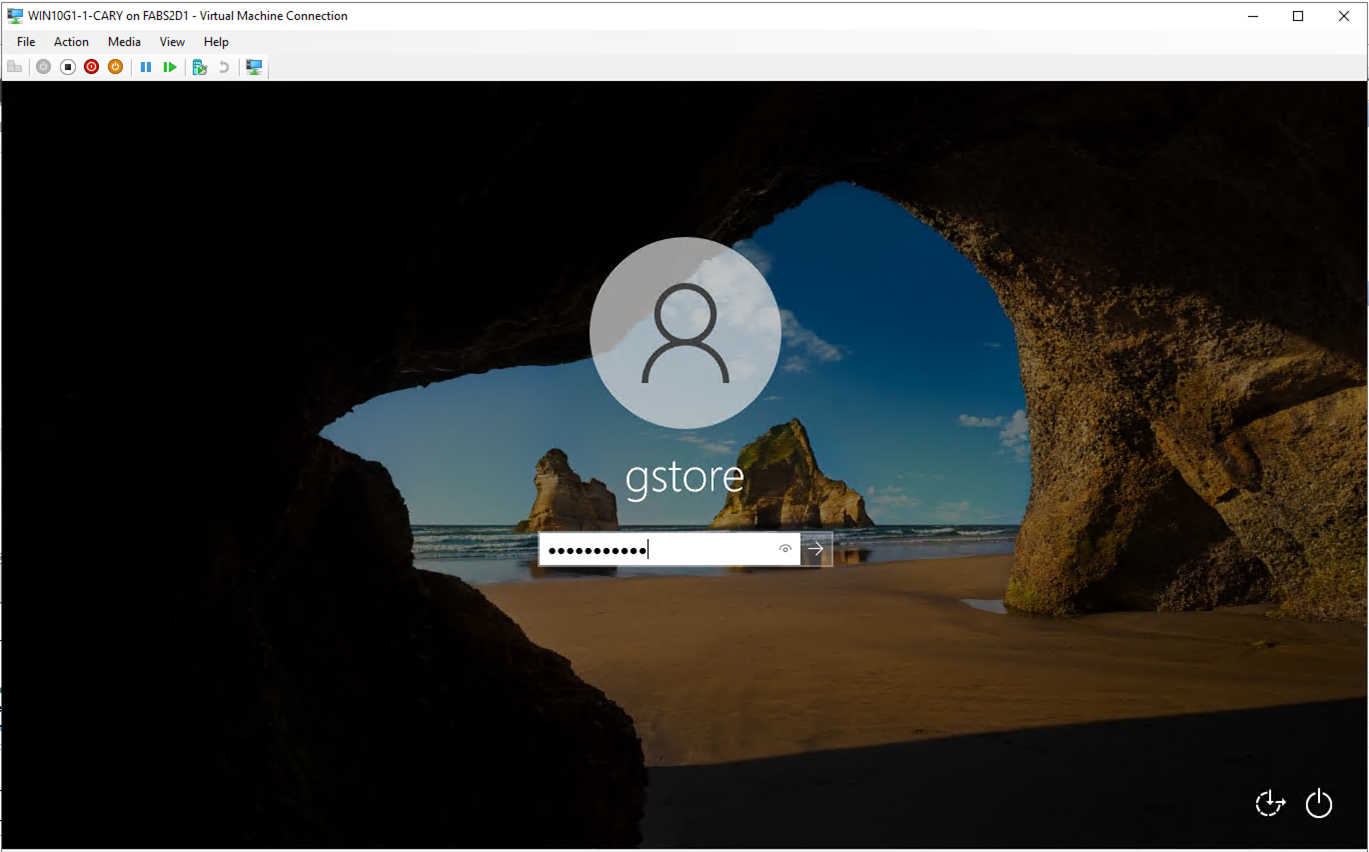
32.Start the Windows 10 generation 1 virtual machine and logon to the Windows 10 virtual machine.
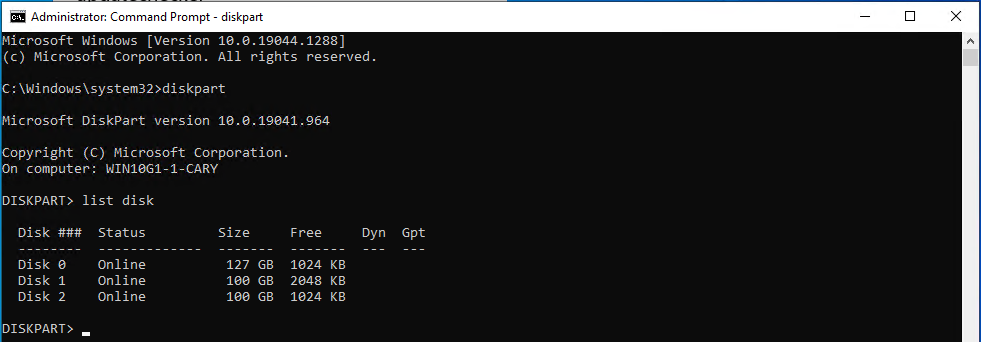
33.Open Command Prompt as administrator and type diskpart.

34.Type list disk to ensure the Windows 2012 R2 C drive disk number.
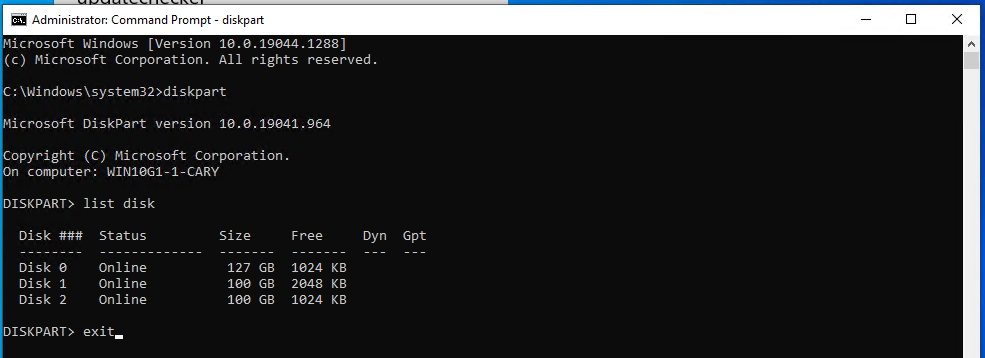
35.Type exit to exit diskpart.
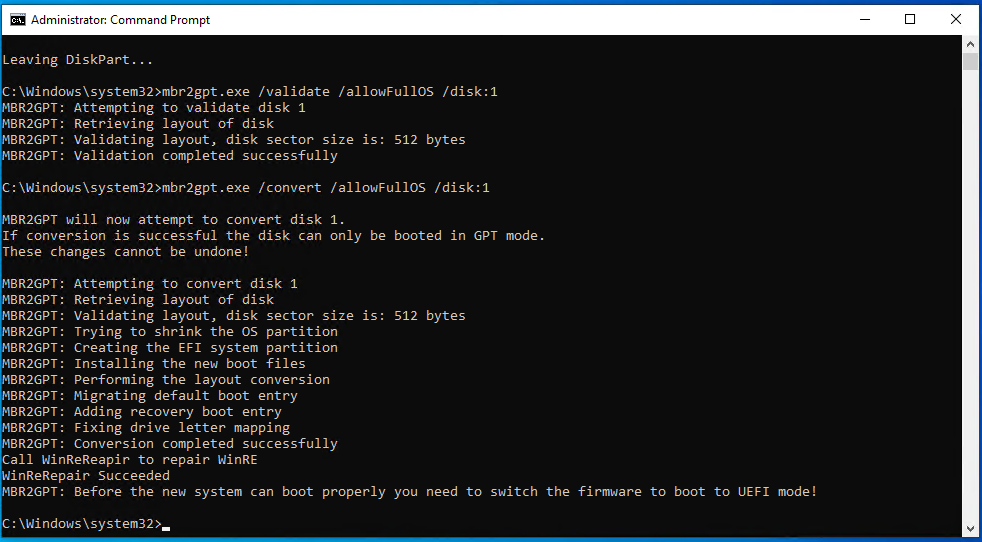
36.Enter the command below to convert it from MBR to GPT.
mbr2gpt.exe /validate /allowFullOS /disk:1
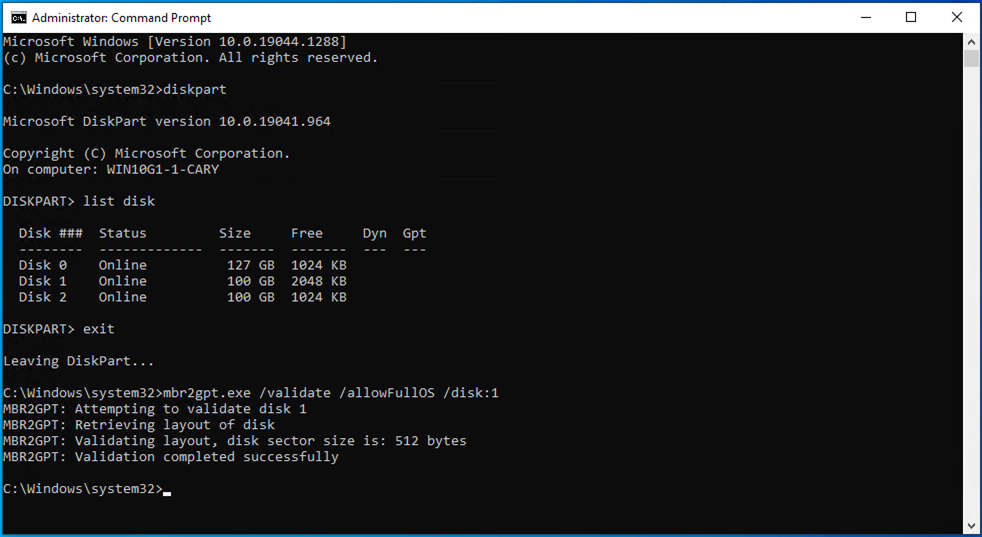
37.Verify the conversion process and ensure success.
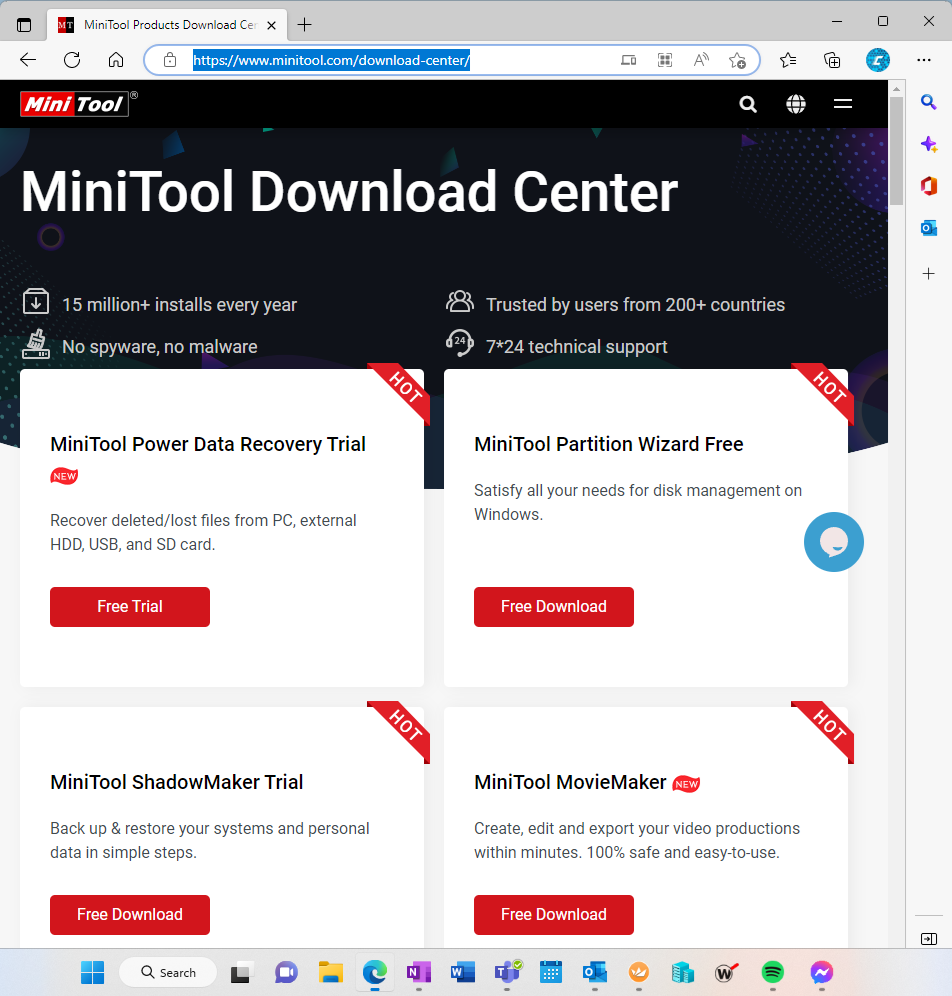
38.Download and install MiniTool Partition software on the Windows 10 virtual machine.
https://www.minitool.com/download-center/
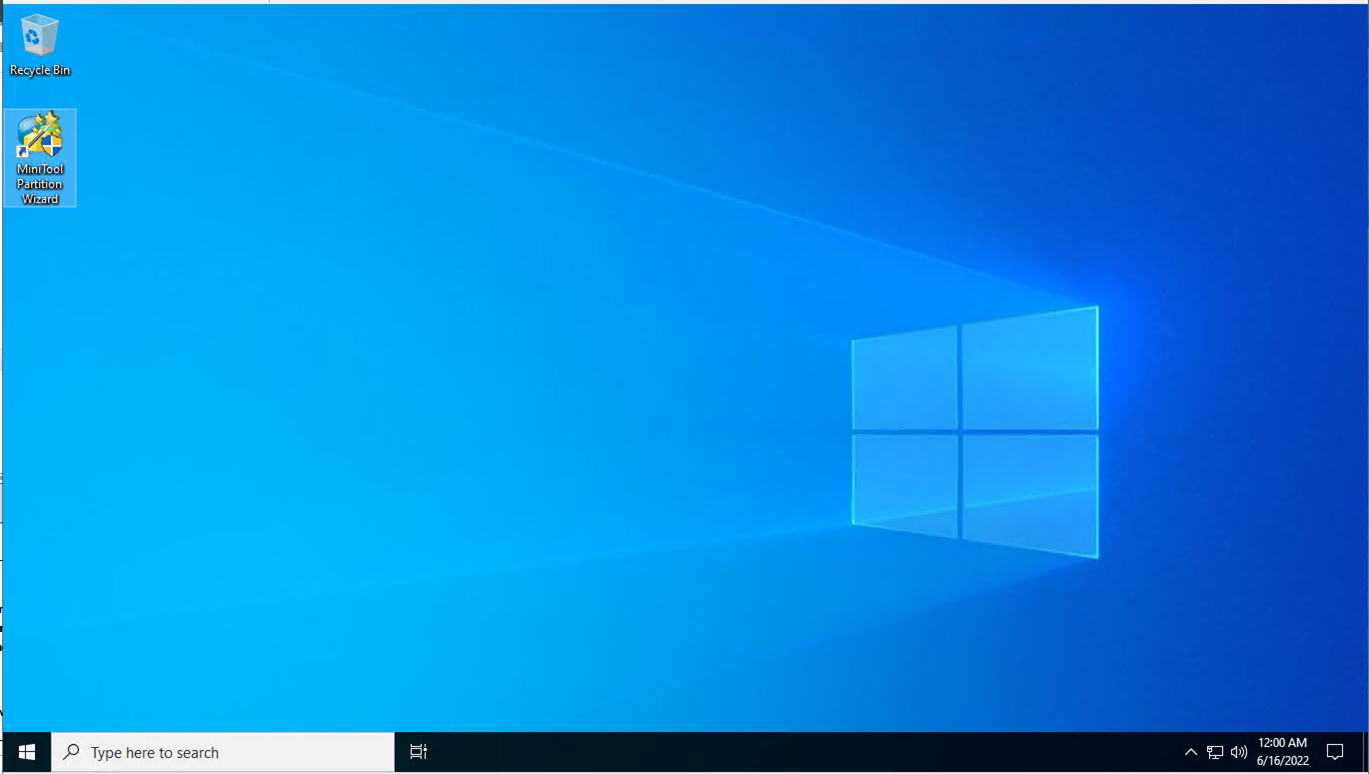
39.Open the MiniTool Partition Wizard.
40.On the Partition Management page, select another 2012 R2 virtual disk (if the 2012 r2 virtual machine has multiple drives) and click Convert MBR Disk to GPT Disk.
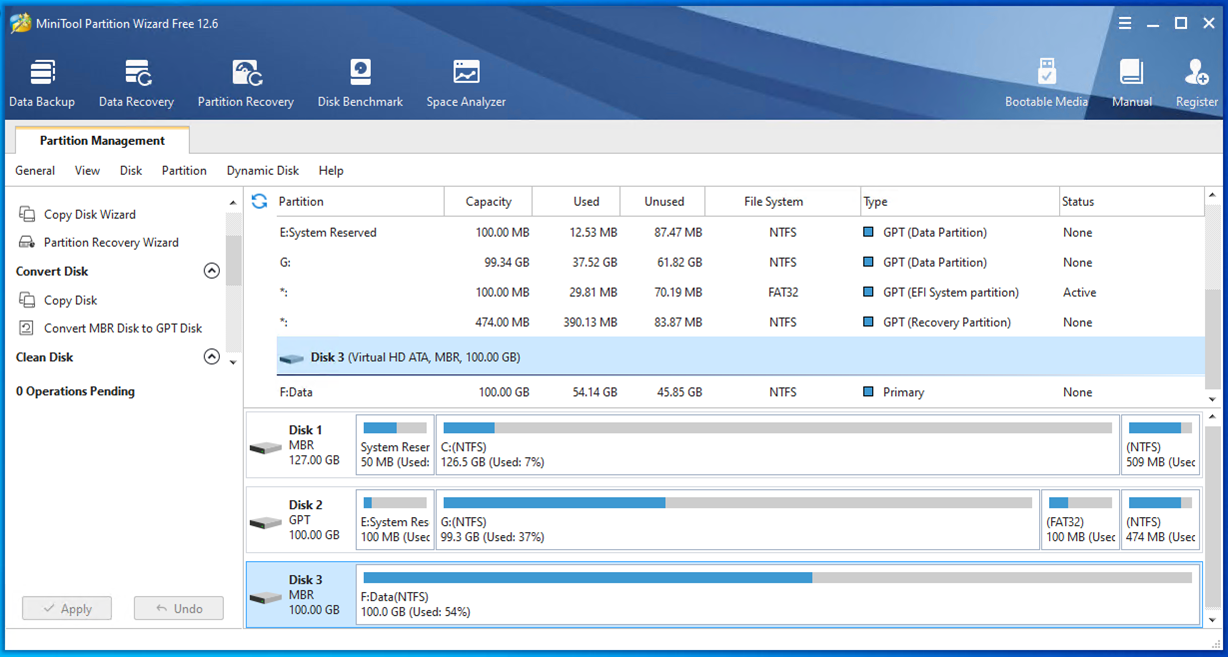
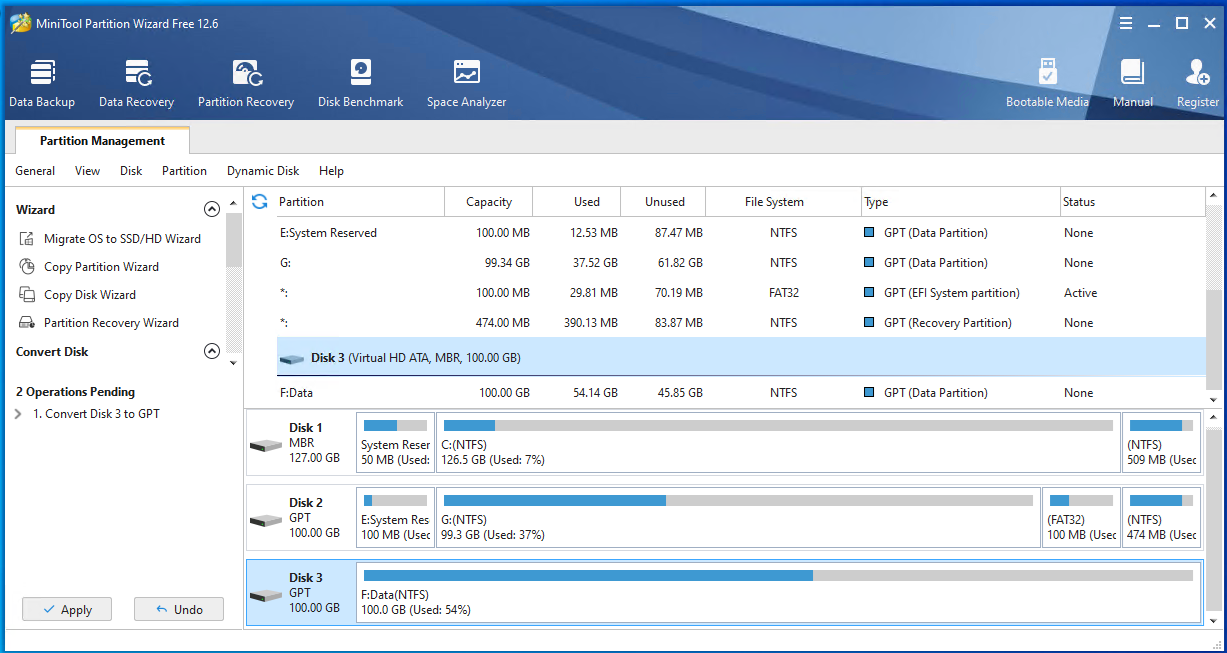
41.Click Apply in the Operation Pending session.
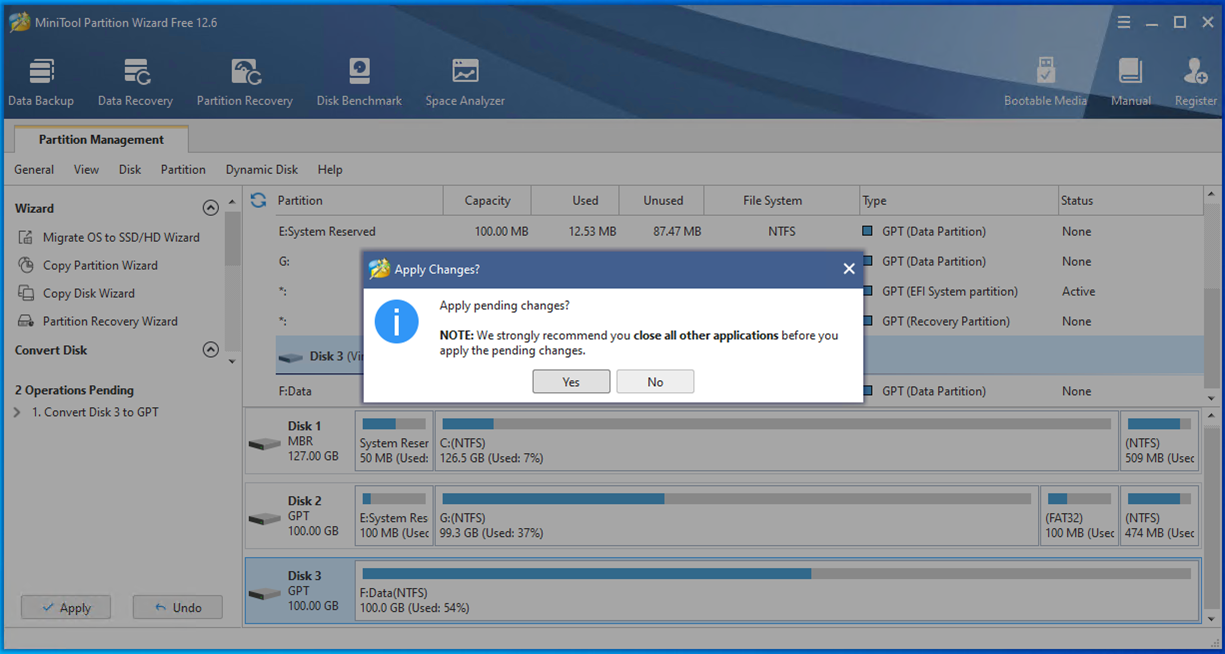
42.Click Yes in the Apply Changes? Page.
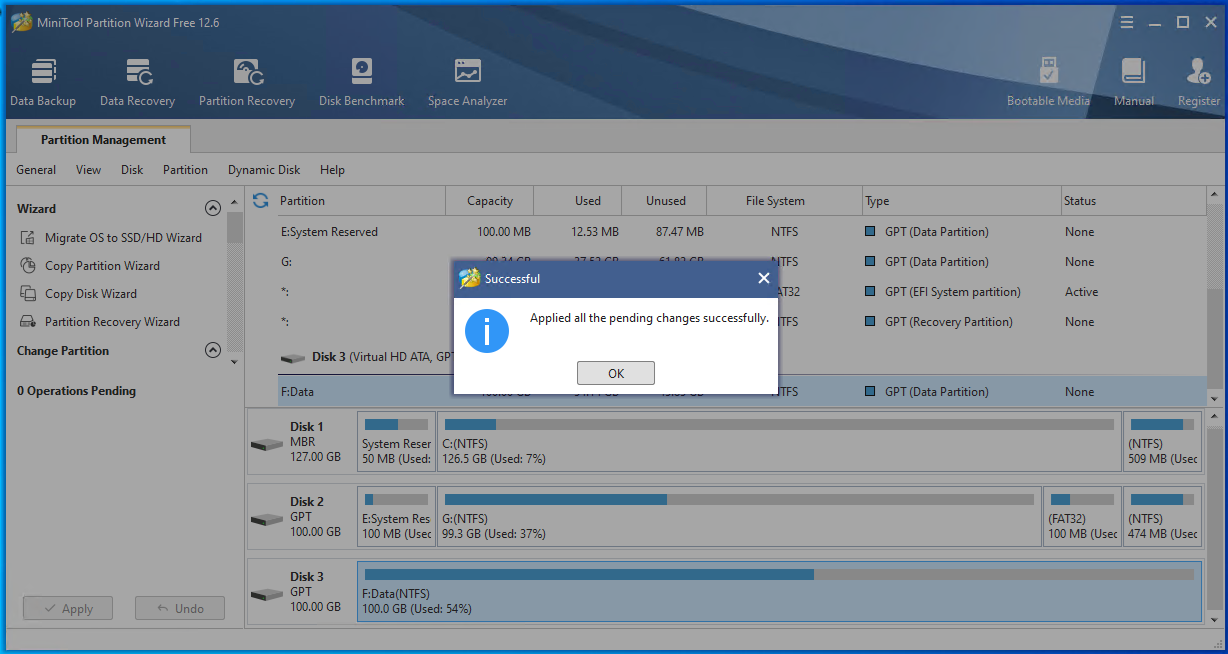
43.Ensure applied success and click OK.
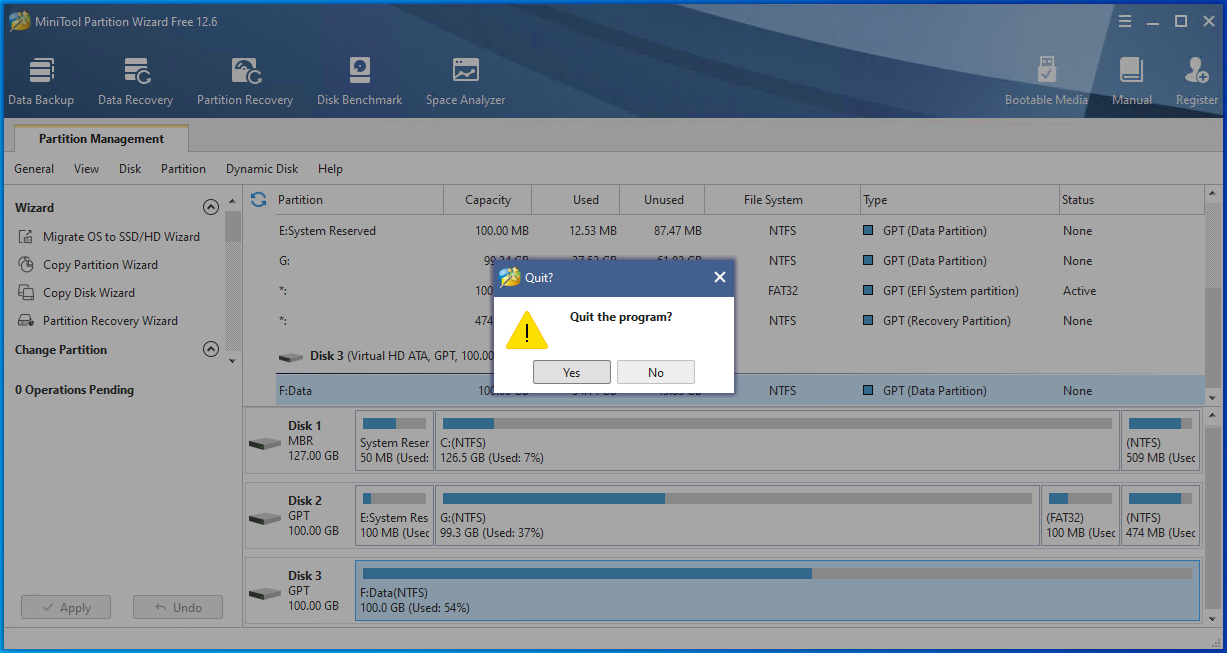
44.Click Yes to quit the MiniTool Partition program.
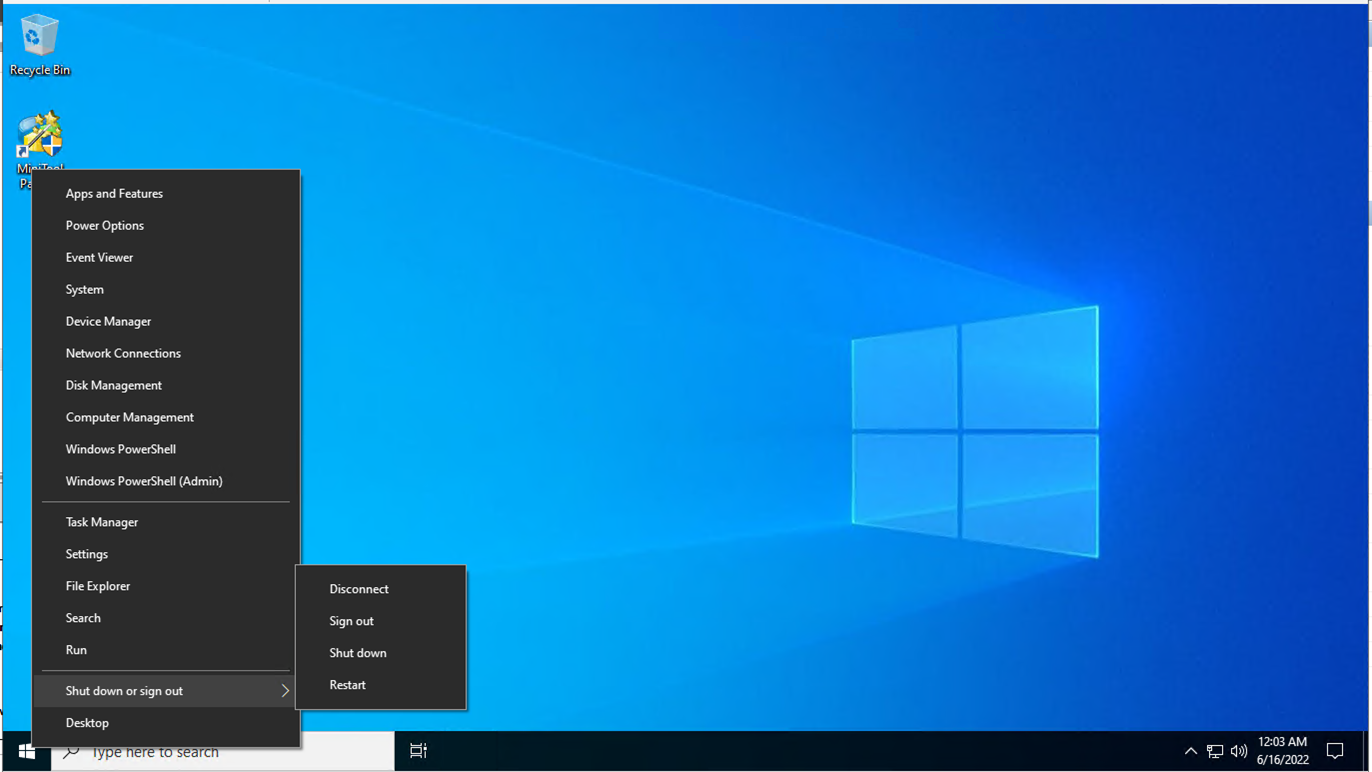
45.Shut down the Windows 10 generation 1 virtual machine.
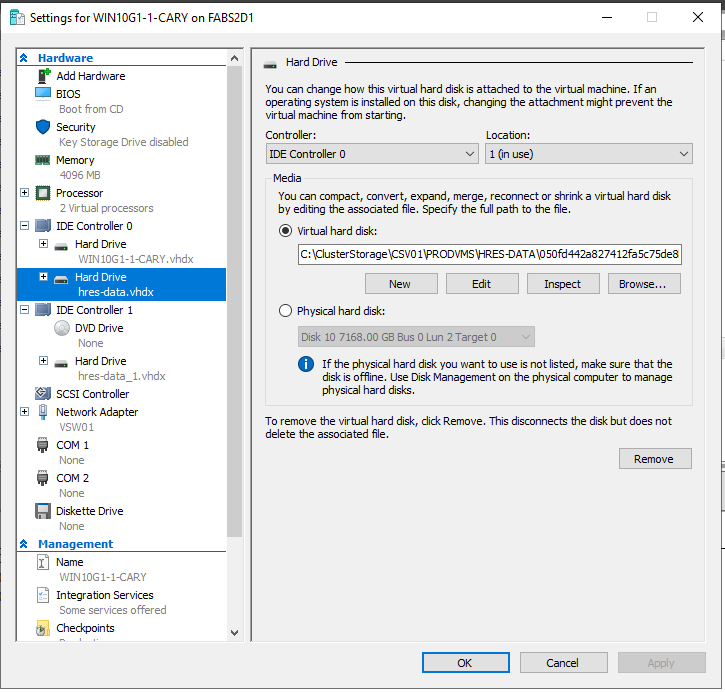
46.Open the Hyper-V Manager tool and Right-click the Windows 10 generation 1 virtual machine.
47.Expand IDE Controller 0 on the Hardware page, select the windows 2012 R2 C drive hard Drive and click Edit.
48.Click Next on the Local Virtual Hard Disk page.
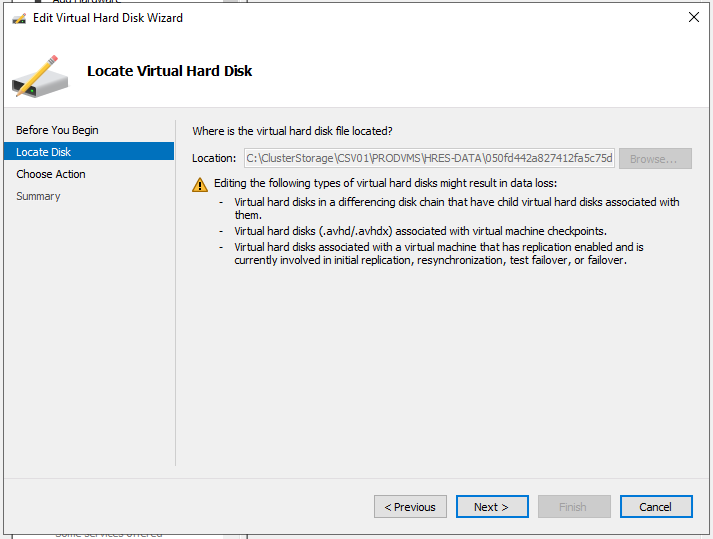
49.Select Convert on the Choose Action page and click Next.
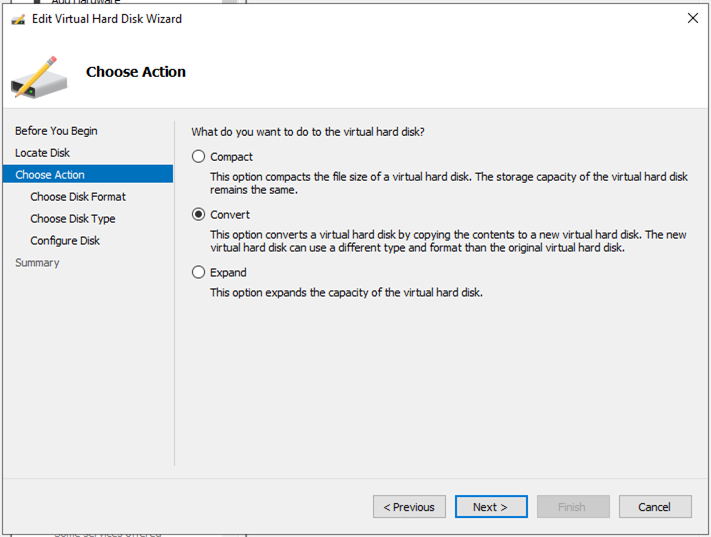
50.Select VHDX on the Choose Disk Format page and click Next.
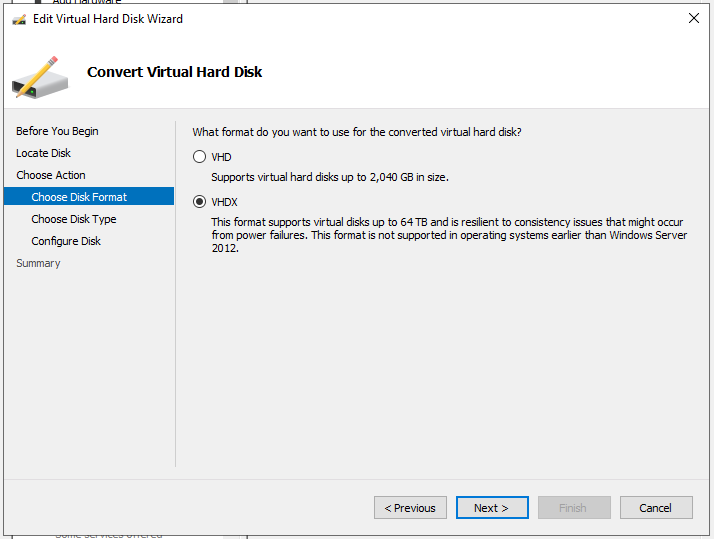
51.Select Dynamically expanding on the Choose Disk Type page and click Next.
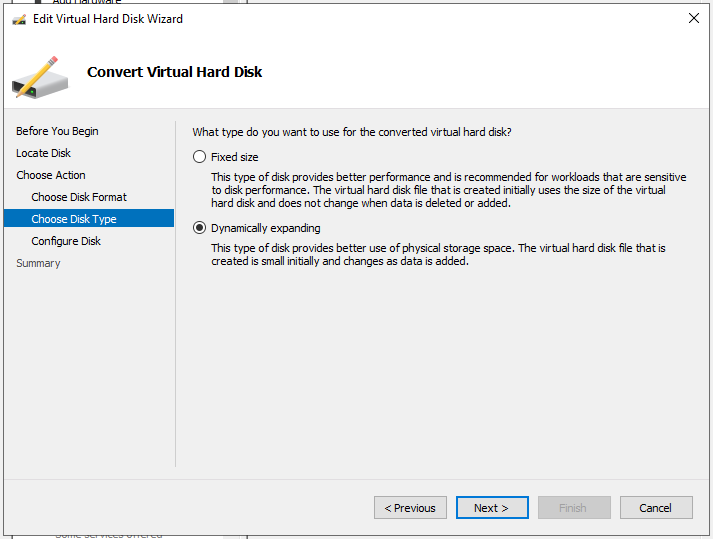
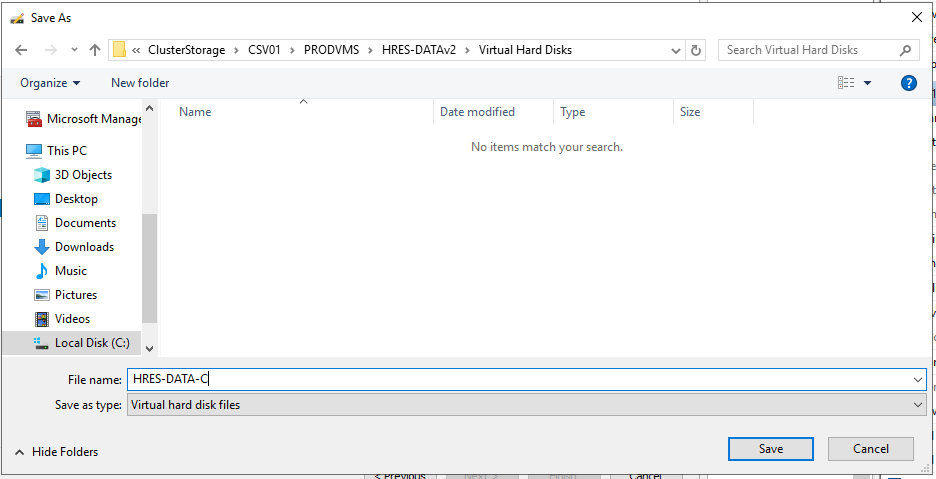
52.On the Configure Disk page, click Browse in the name field.
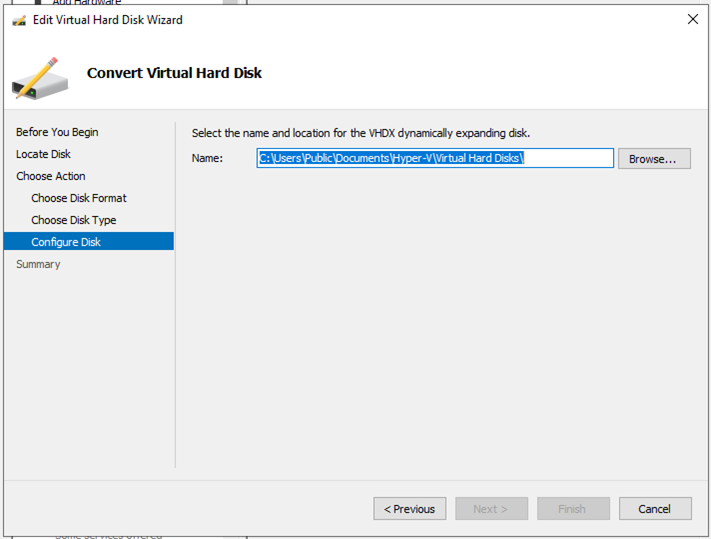
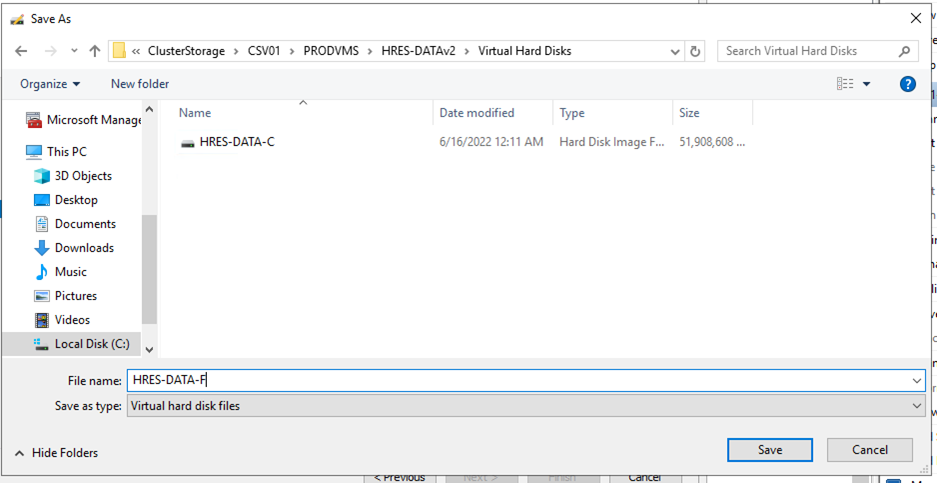
53.Select the folder path, enter the file name in the File name field and click Save.
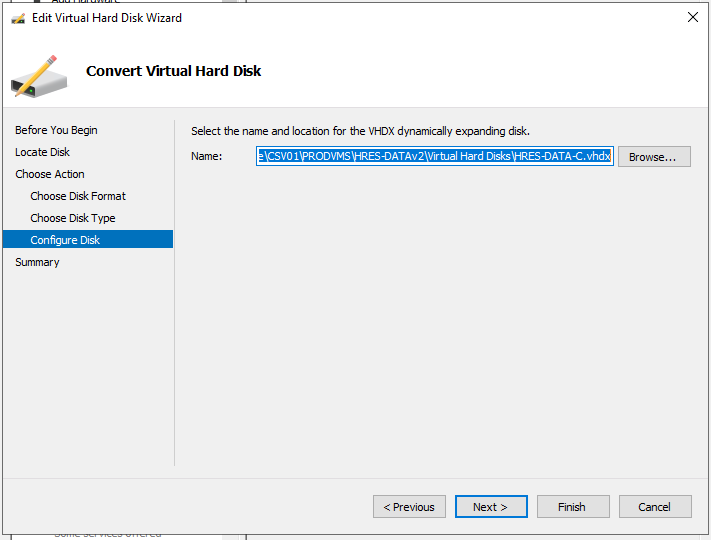
54.Click Next on the Configure Disk page.
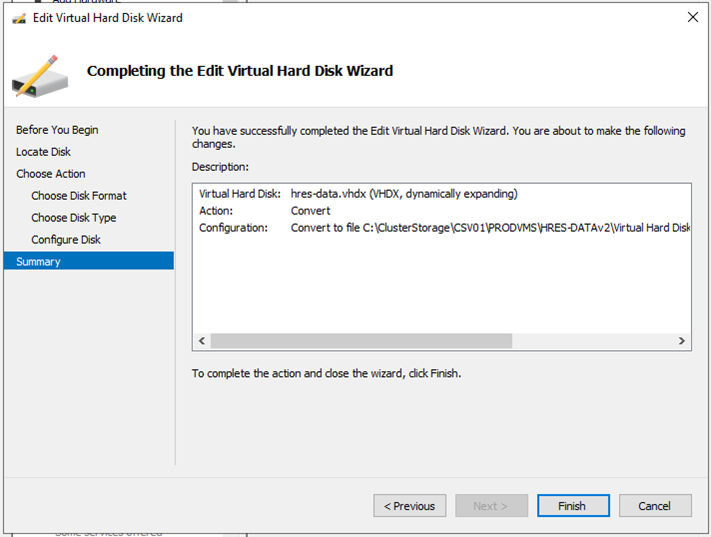
55.Click Finish on the Summary page.
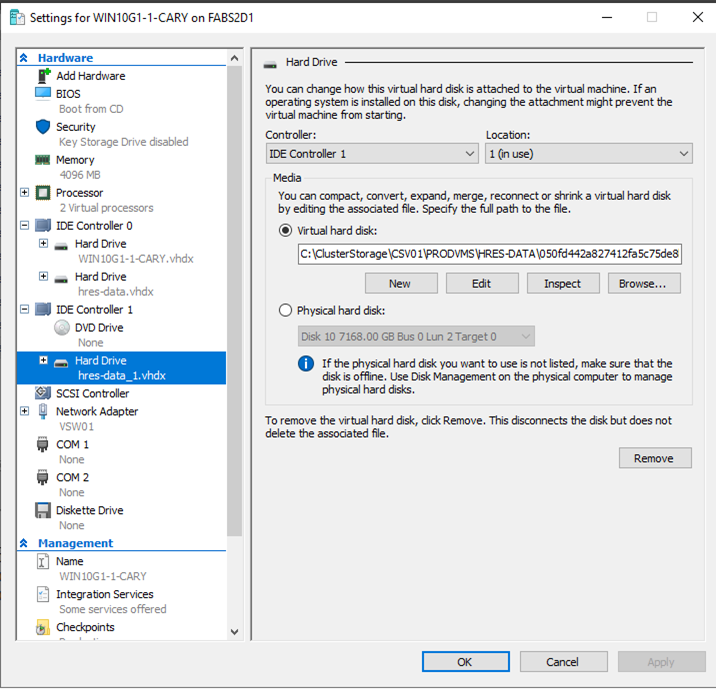
56.Expand IDE Controller 1, select another Hard Drive and click Edit in the Virtual hard disk field.
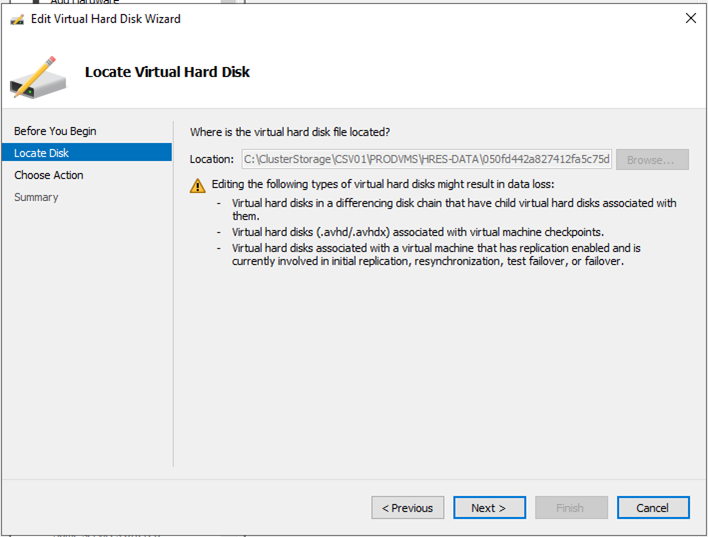
57.Click Next on the Locate Disk page.
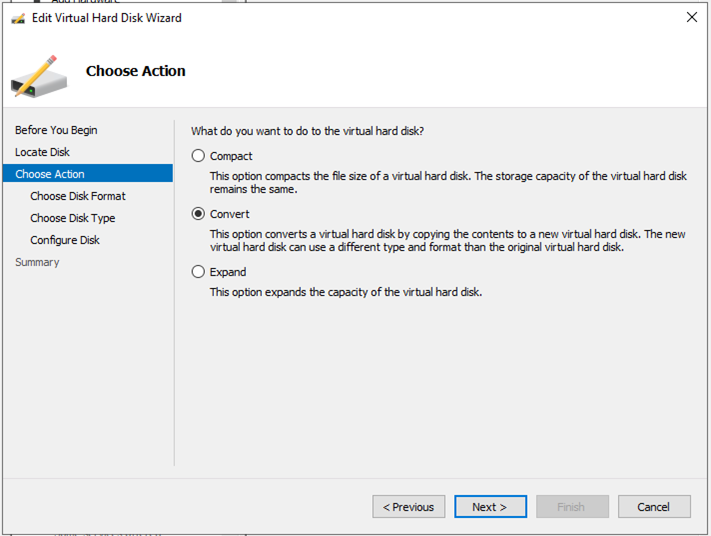
58.Select Convert on the Choose Action page and click Next.
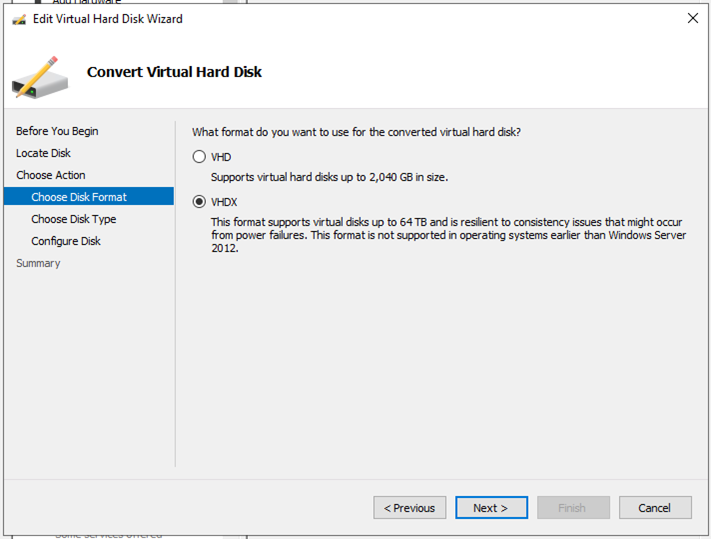
59.Select VHDX on the Choose Disk Format page and click Next.
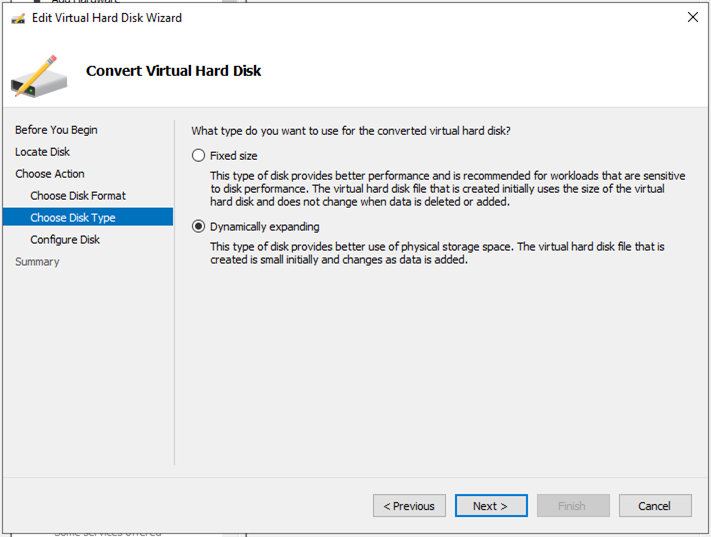
60.Select Dynamically expanding on the Choose Disk Type page and click Next.
61.On the Configure Disk page, click Browse in the Name field.
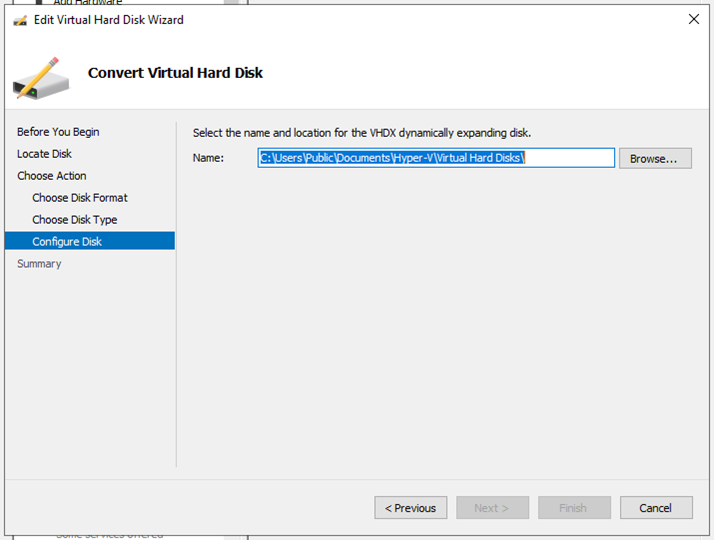
62.Select the folder path, enter a file name in the File name field and click Save.
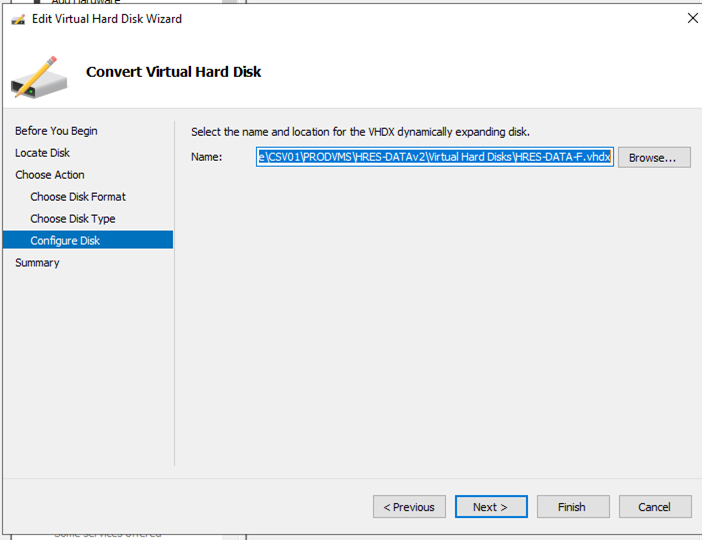
63.Click Next on the Configure Disk page.
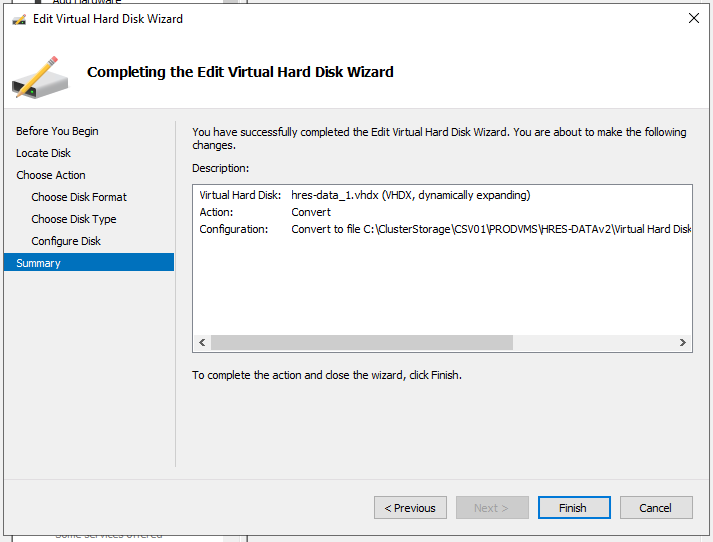
64.Click Finish on the Summary page.
65.Click Apply on the Settings page.
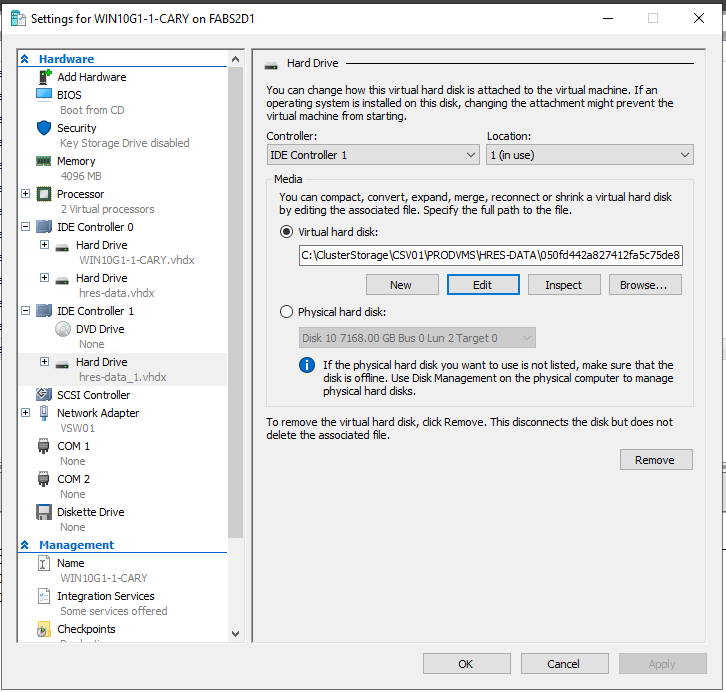
66.Expand IDE Controller 0 on the Hardware page, select the windows 2012 R2 C drive hard Drive and click Remove.
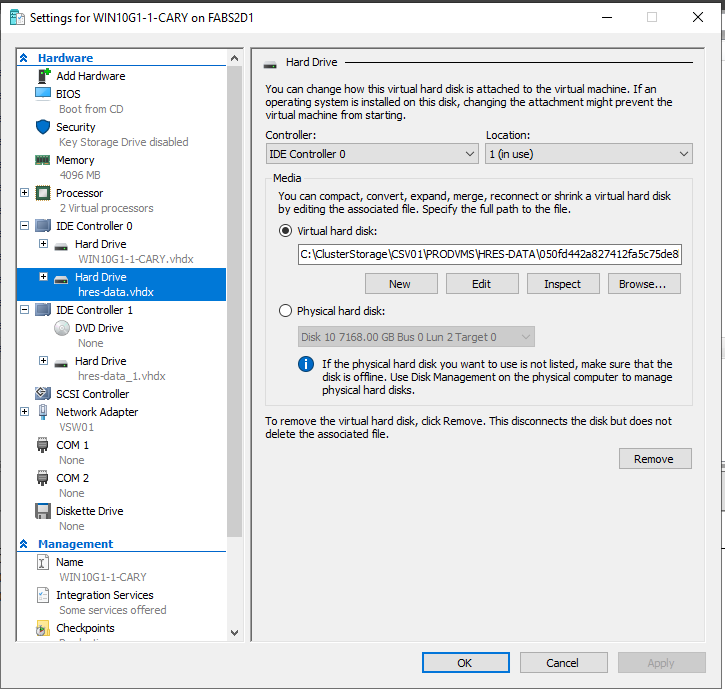
67.Expand IDE Controller 1 on the Hardware page, select the windows 2012 R2 D drive hard Drive and click Remove.
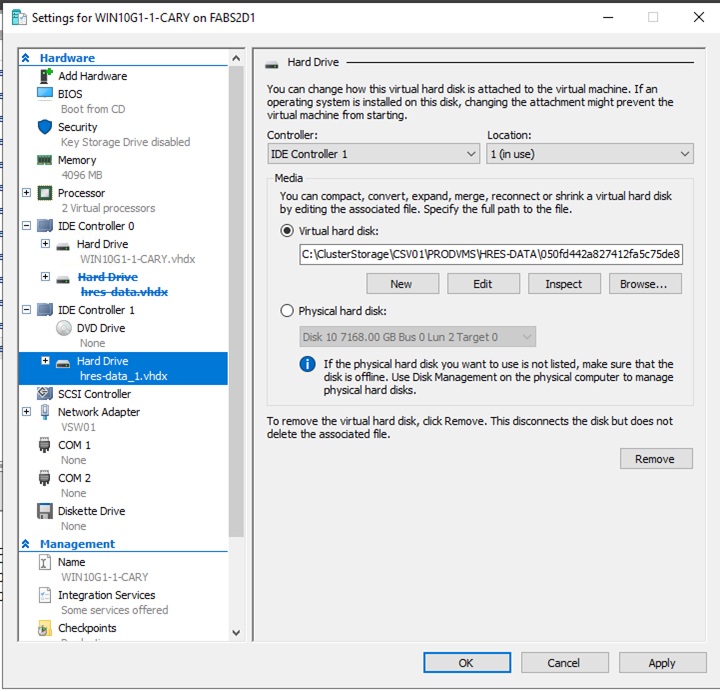
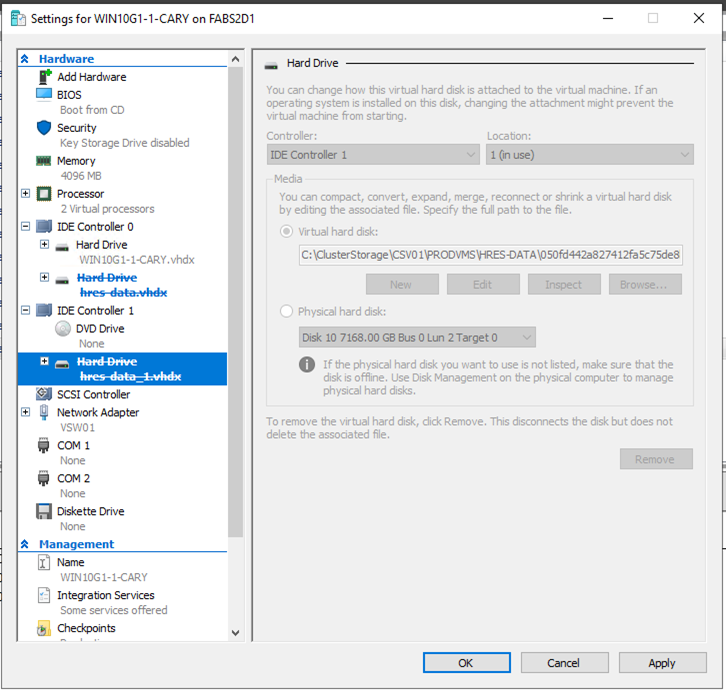
68.Click Apply and click OK on the Settings page.
69.Open Hyper-V Manager and create a new generation 2 virtual machine.
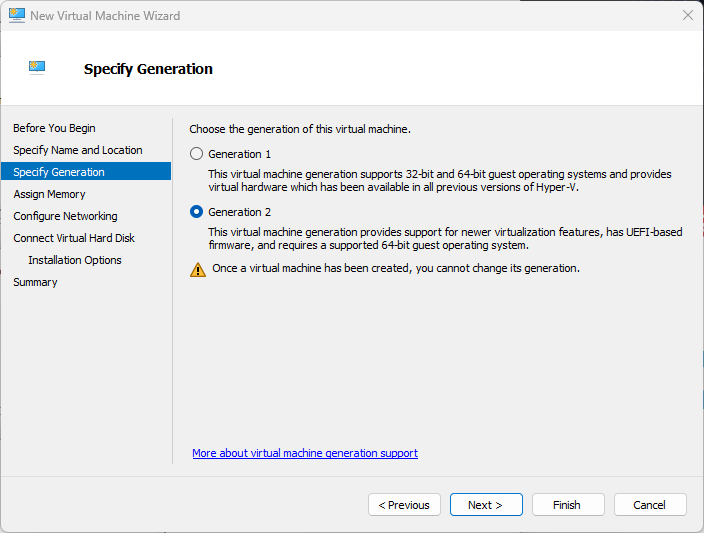
70.Select Attach a virtual hard disk later on the Connect Virtual Hard Disk page.
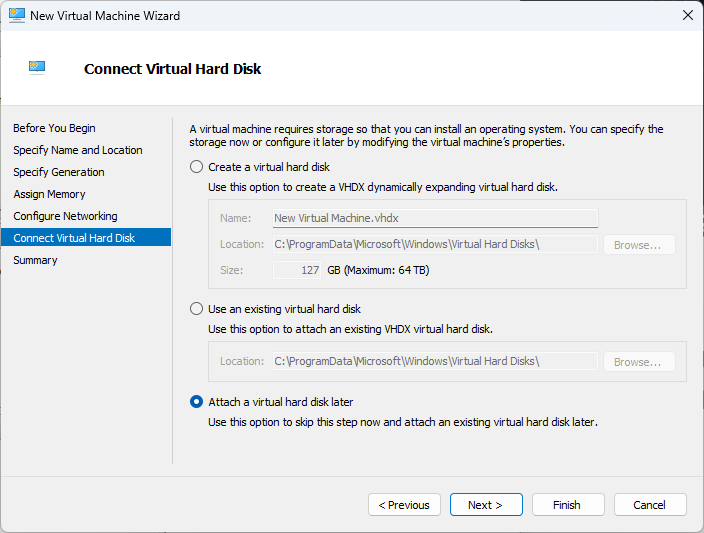
71.Right-click the new virtual machine and select Settings.
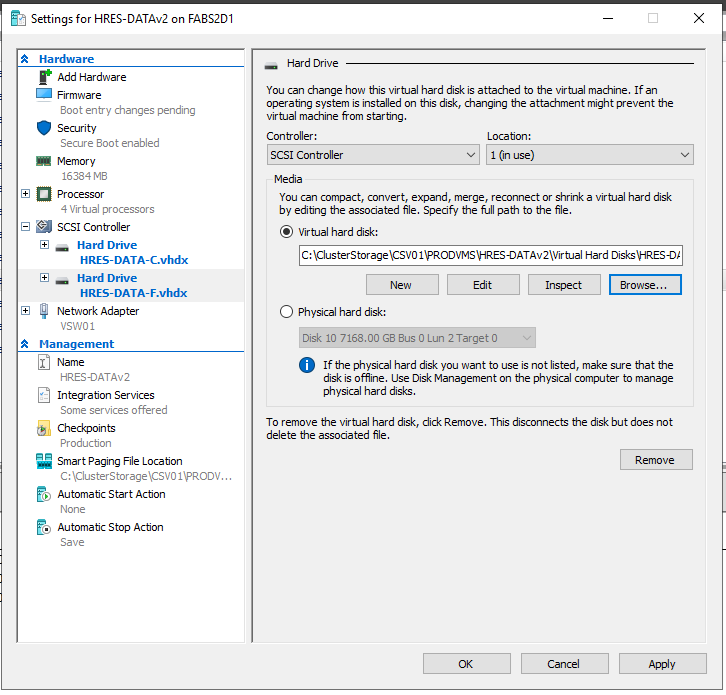
72.Select SCSI Controller on the Hardware page, select the Hard Drive and click Add.
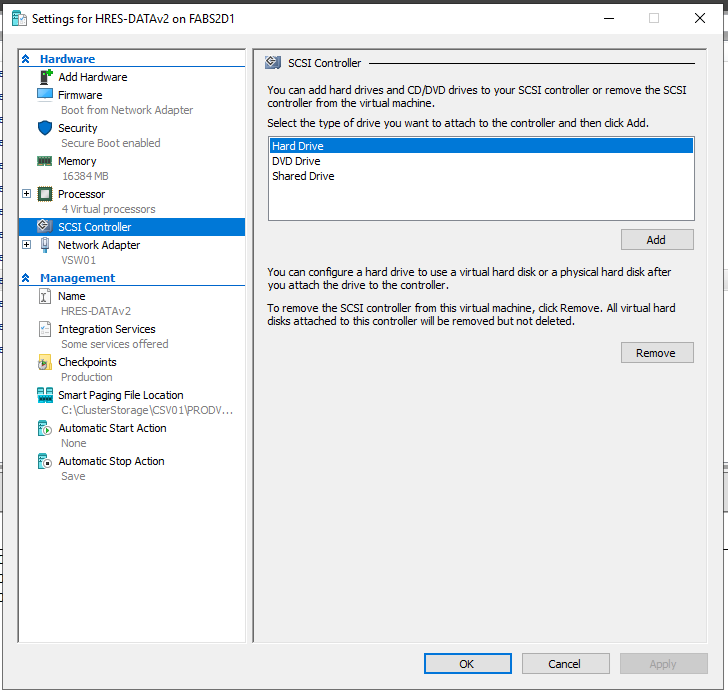
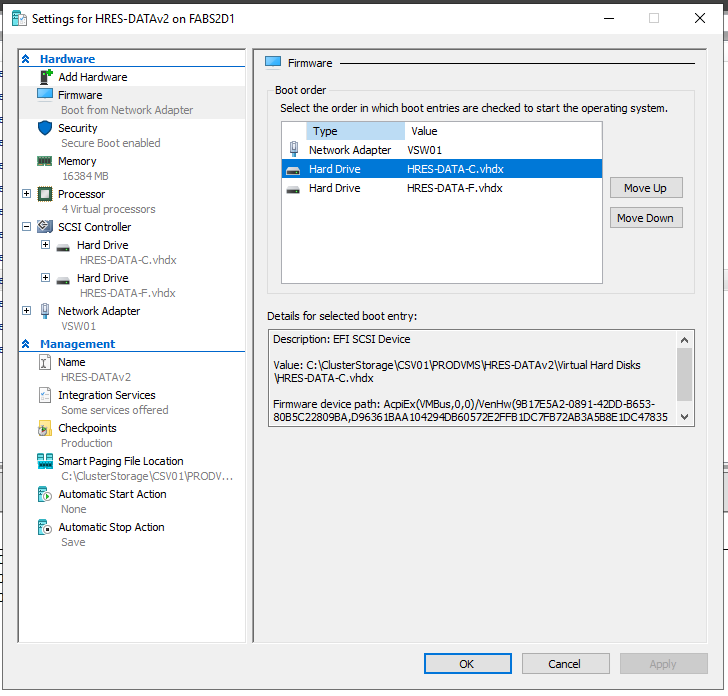
73.Click Browse in the virtual hard disk field.
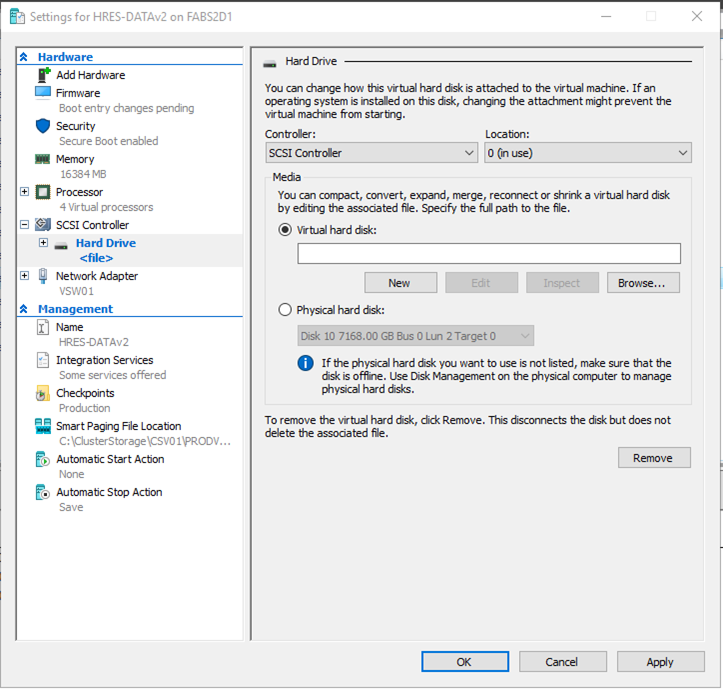
74.Select the new C drive VHDX file and click Open.
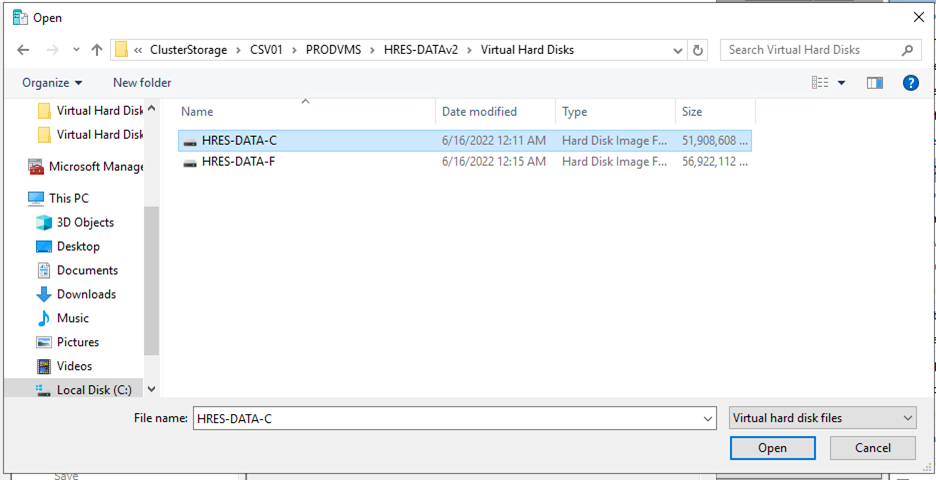
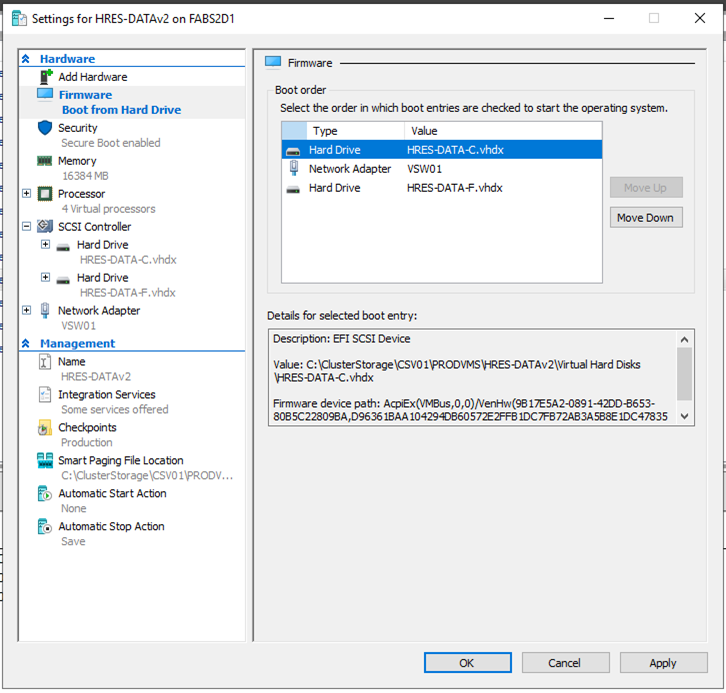
75.Select SCSI Controller on the Hardware page, select Hard Drive and click Add.
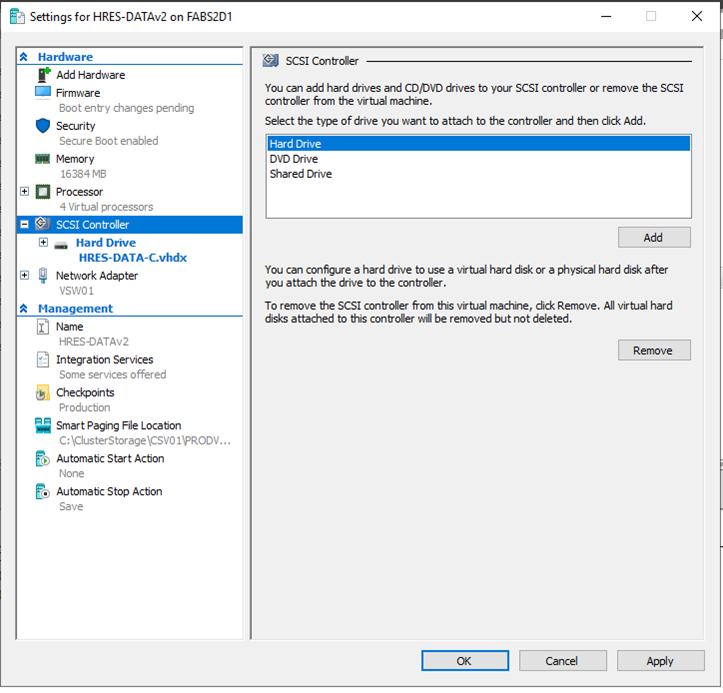
76.Click Browse in the virtual hard disk field.
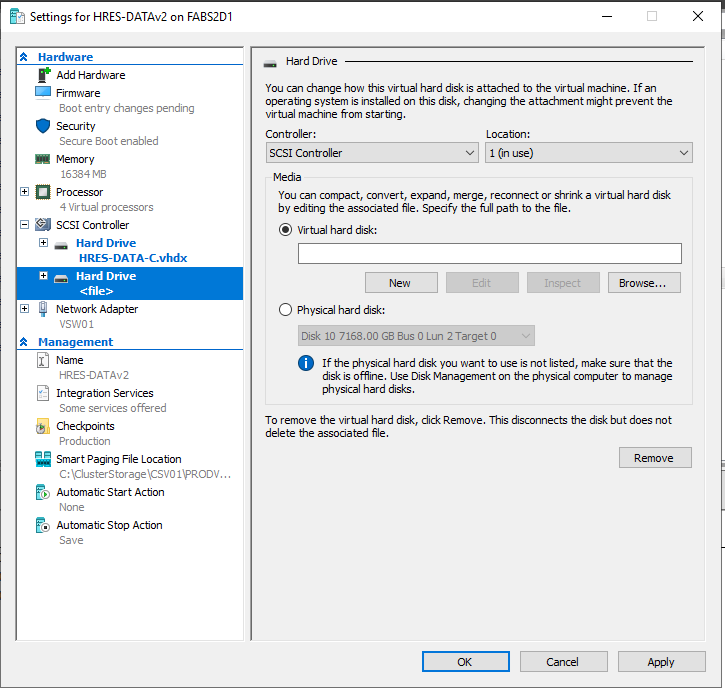
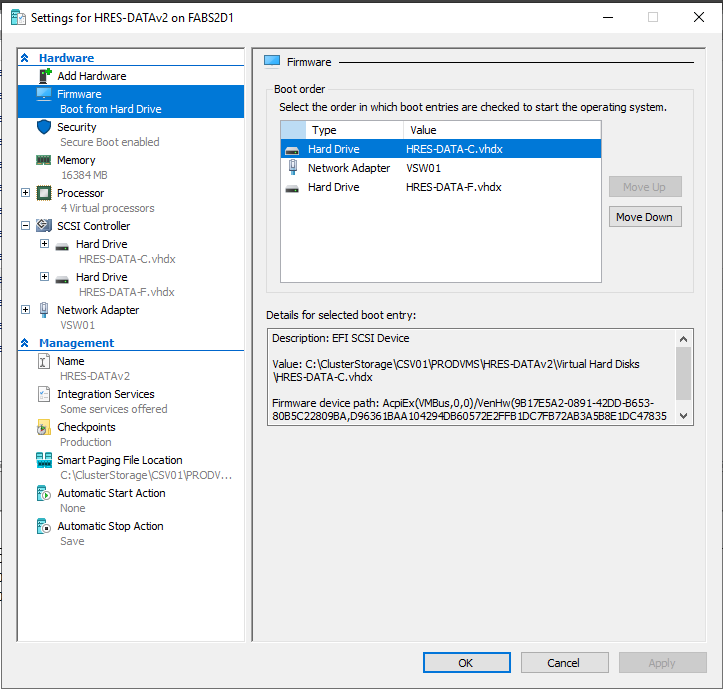
77.Select the new D drive VHDX file and click Open.
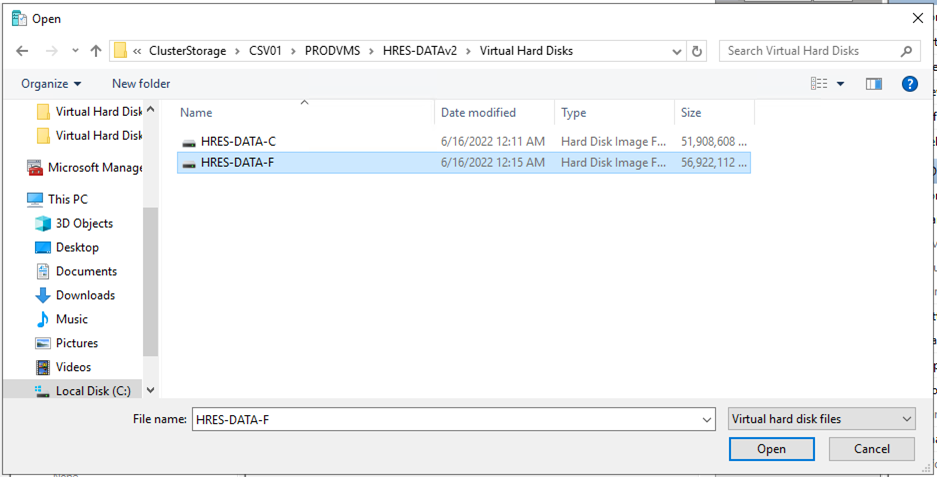
78.Click Apply on the Settings page.
79.Select Firmware on the Hardware page.
80.Select the C Hard Drive in the Boot order and click Move UP.
81.Ensure the C Hard Drive is on the top and click Apply.
82.Click OK on the Settings page.
83.Start the new virtual machine.
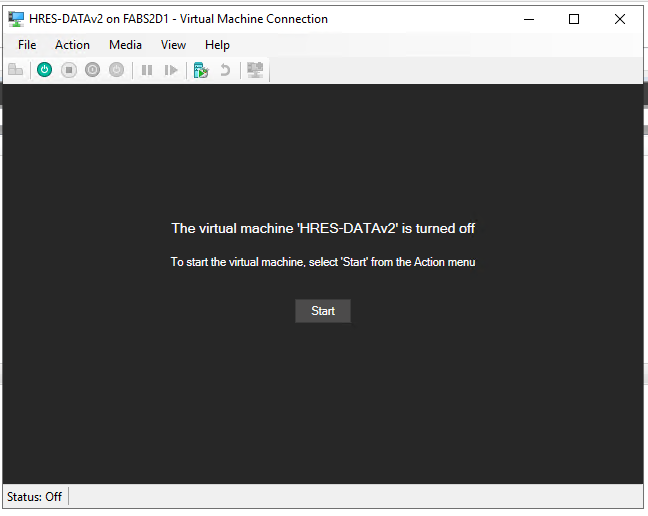
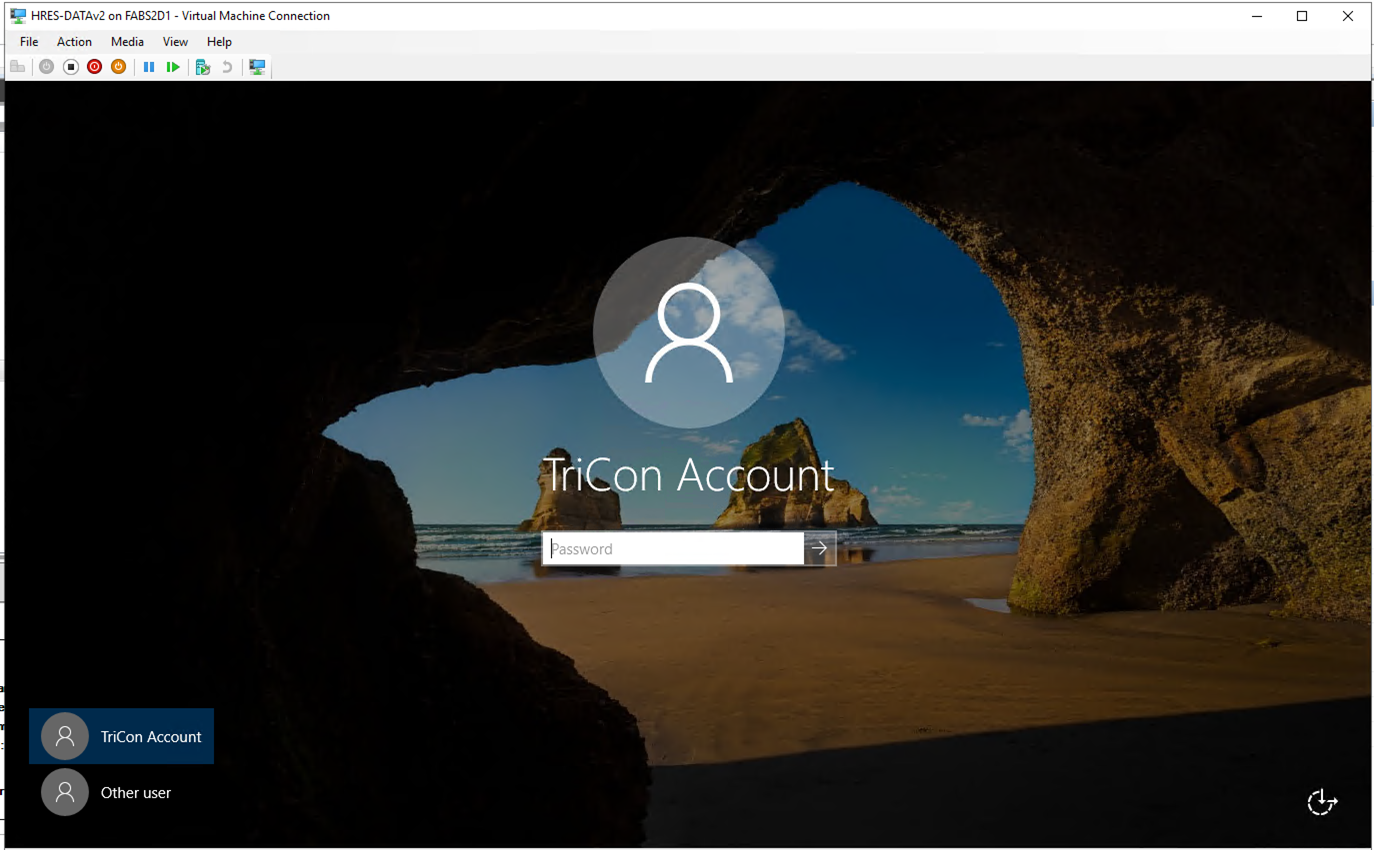
84.Logon to the new virtual machine to ensure everything works well.
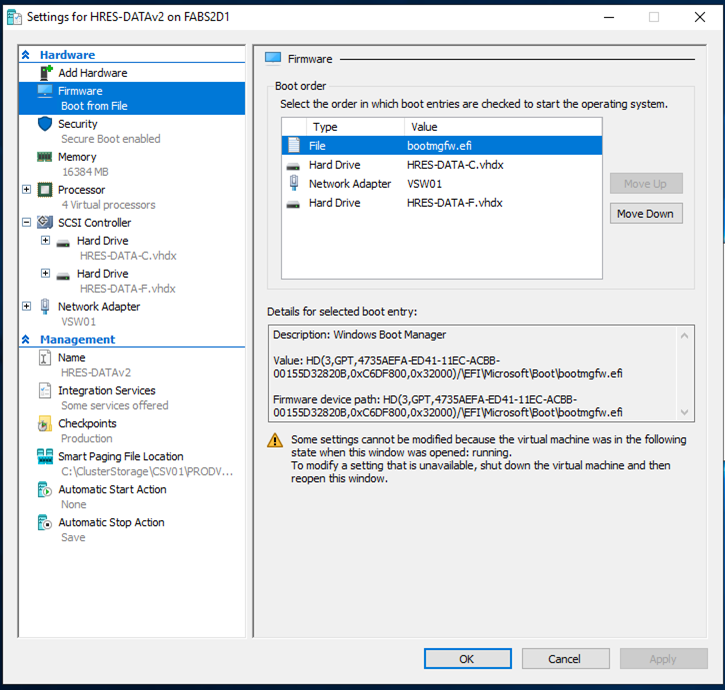
85.Open the virtual machine settings and select Firmware on the Hardware page.
86.You noticed the top of the Boot order changed to File.
I hope you enjoy this post.
Cary Sun
Twitter: @SifuSun
Web Site: carysun.com
Blog Site: checkyourlogs.net
Blog Site: gooddealmart.com
Author: Cary Sun
Cary Sun has a wealth of knowledge and expertise in data center and deployment solutions. As a Principal Consultant, he likely works closely with clients to help them design, implement, and manage their data center infrastructure and deployment strategies.
With his background in data center solutions, Cary Sun may have experience in server and storage virtualization, network design and optimization, backup and disaster recovery planning, and security and compliance management. He holds CISCO CERTIFIED INTERNETWORK EXPERT (CCIE No.4531) from 1999. Cary is also a Microsoft Most Valuable Professional (MVP), Microsoft Azure MVP, Veeam Vanguard and Cisco Champion. He is a published author with several titles, including blogs on Checkyourlogs.net, and the author of many books.
Cary is a very active blogger at checkyourlogs.net and is permanently available online for questions from the community. His passion for technology is contagious, improving everyone around him at what they do.
Blog site: https://www.checkyourlogs.net
Web site: https://carysun.com
Blog site: https://gooddealmart.com
Twitter: @SifuSun
in: https://www.linkedin.com/in/sifusun/
Amazon Author: https://Amazon.com/author/carysun
